Today I found the time to scan some negatives I want to work with and finally hooked up my printer for the first time. It works! I’ll slowly describe the steps I took to get to the results I’ll be showing. This is a testing phase for me so by no means will the settings I used and show here be perfect. This is meant to keep track of what I’m doing so I can trace back my steps when things go wrong. If you find anything worthy of noting or think certain things best needs changed please leave a comment!
I could of course just scan an image, convert it to black-and-white if it wasn’t already, invert it so that I have a negative and fiddle around with the density as long as I deem necessary. However, this is a highly experimental approach with results not being able to be repeated when needed be. After looking around on the net for awhile I decided to start out with the ChartThrob method as I found on Jalo Porkkala’s website.
First thing is go to their website as linked above and add the jsx file to “presets” -> “scripts” in the Photoshop folder in Applications (Mac). When you (re)start Photoshop you will find this under “file” -> “scripts” -> “chart throb”. Click on the latter to start it up.
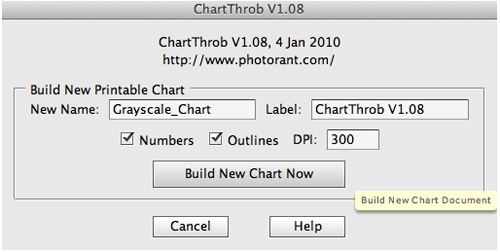
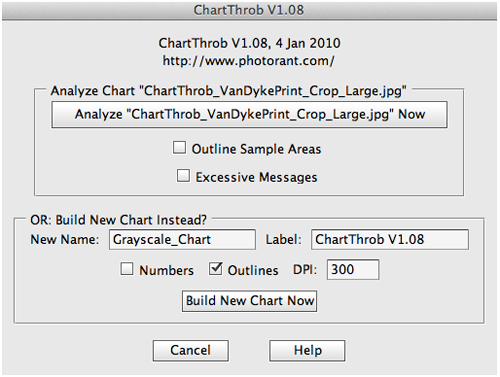
The following menu will pop up:
When you choose “Build New Chart Now” the program starts to build a chart for you, filled with profiling information. When you select the option “Numbers” the build-up will take a couple of minutes. This is what the new chart looks like:
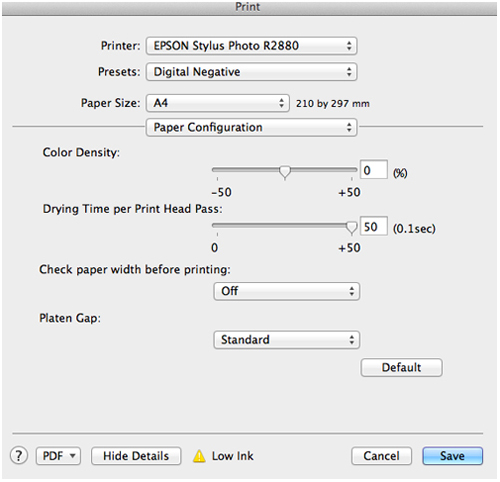
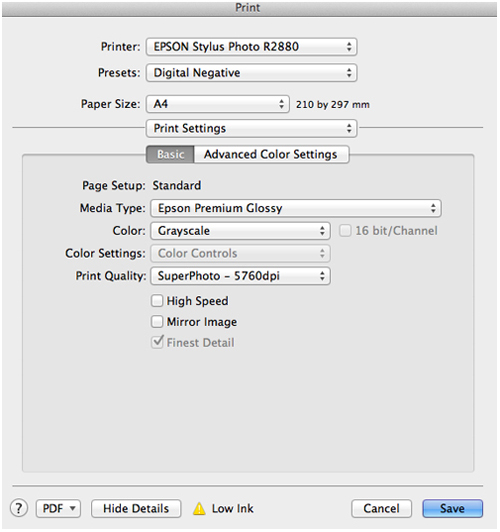
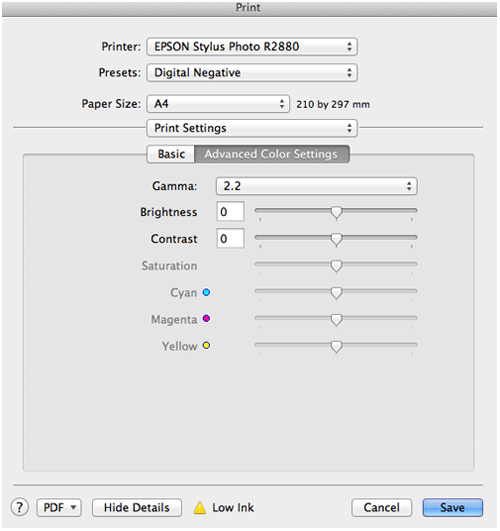
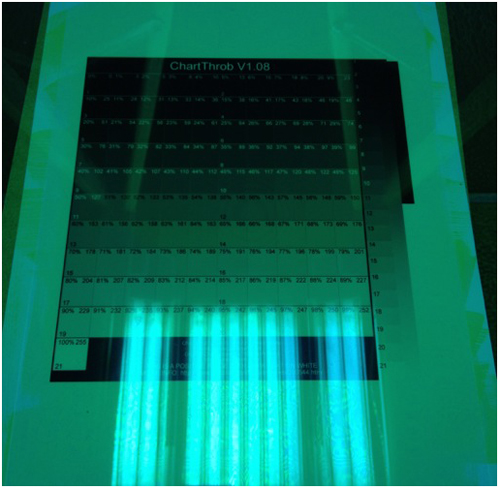
You can now invert it so that you’re left with a negative you can print on a transparent sheet. I then proceeded to print the image using an Epson R2880 on Permajet Digital Transfer Film with the following settings:
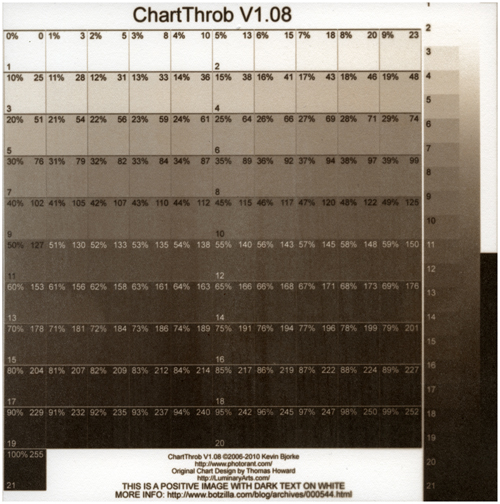
After the image has been printed you can then contact print the negative using whichever process you wish to calibrate. Right now for me I’m using the Van Dyke process. Expose the sheet with the negative on it so that the mids are exposed for decently. Wash and fix as normal. The final print should look somewhat like this:
After the print has dried scan it while making sure you have a linear scan (gamma 1.0) with a full grayscale range. Crop the scan back to the boundaries of the chart and open ChartThrob again. Choose the option “Analyze ‘InsertYourFilename.jpg’ Now”.
Once it has analyzed the chart you get your curve which you can then save and/or use immediately on a black-and-white image. It should make your image appear grayish and washed out on the screen. This should be correct for printing and you’re ready to go.
However, the curve I’m getting so far doesn’t seem good. I think I’ve overexposed the print with the gray scale on it so I’ll be making a new one. Updates on this will follow asap.
This is the end of part 1. If you’ve made a proper print with the gray scale chart on you should get a proper curve when correctly scanned. Putting this theory into practice is something different I’ve already noticed. As soon as I have a curve that pleases me I’ll report back.


