
Prints on acid! Yeah! So, after what I’ve been reading on papers from Christina Z. Anderson, I found it time to do some experimenting of my own. I already tried the Hahnemuhle Platinum Rag, which looked great density and color-wise (non-acidified), I just can’t seem to grow fond of its texture. Too neat for me.
I went to the local artist supply store and bought some Fabriano Artistico FineGrain which I wanted to try alongside the Hahnemuhle Bamboo, and then acidified and non-acidified. To see for myself what a difference this extra effort would make, if any at all.
I acidified the papers using the following method:
I made a bath of 1% oxalic acid (crystal form) dissolved in demineralized water and soaked each sheet for 5 minutes. I then air-dried them.
Yesterday I came around to coating (with hake brush – me like) and exposing them (12 minutes)..Processing went just like the last time, I’ll repeat for convenience sake:
1: distilled water with a pinch of citric acid – 2 minutes
2: tap water with a pinch of citric acid – 2 minutes
3: running tap water – 2 minutes
4: Fixer 1,5 minute
5: Final wash – 30-40 minutes
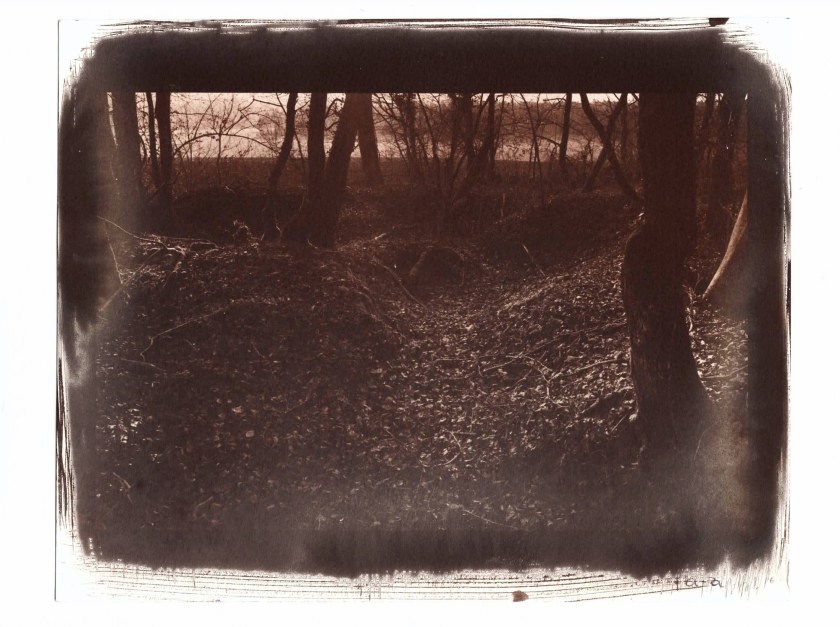
Then left to dry…and picked them up today for inspection…the difference is more than noticable. Quite obvious also which will be the paper of my choice. Conclusion in short: the acidified variants have more and more even density, a better d-max. The Fabriano wins hands down, for me that is. Love the color. I think the texture is a bit too much for my taste but this will be fine as soon as the prints get bigger. Prints are now on sheets of 8×10″. The final sheets will be around 22×30″. Anyway, onto the visual results (shitty scans but they tell the story)!

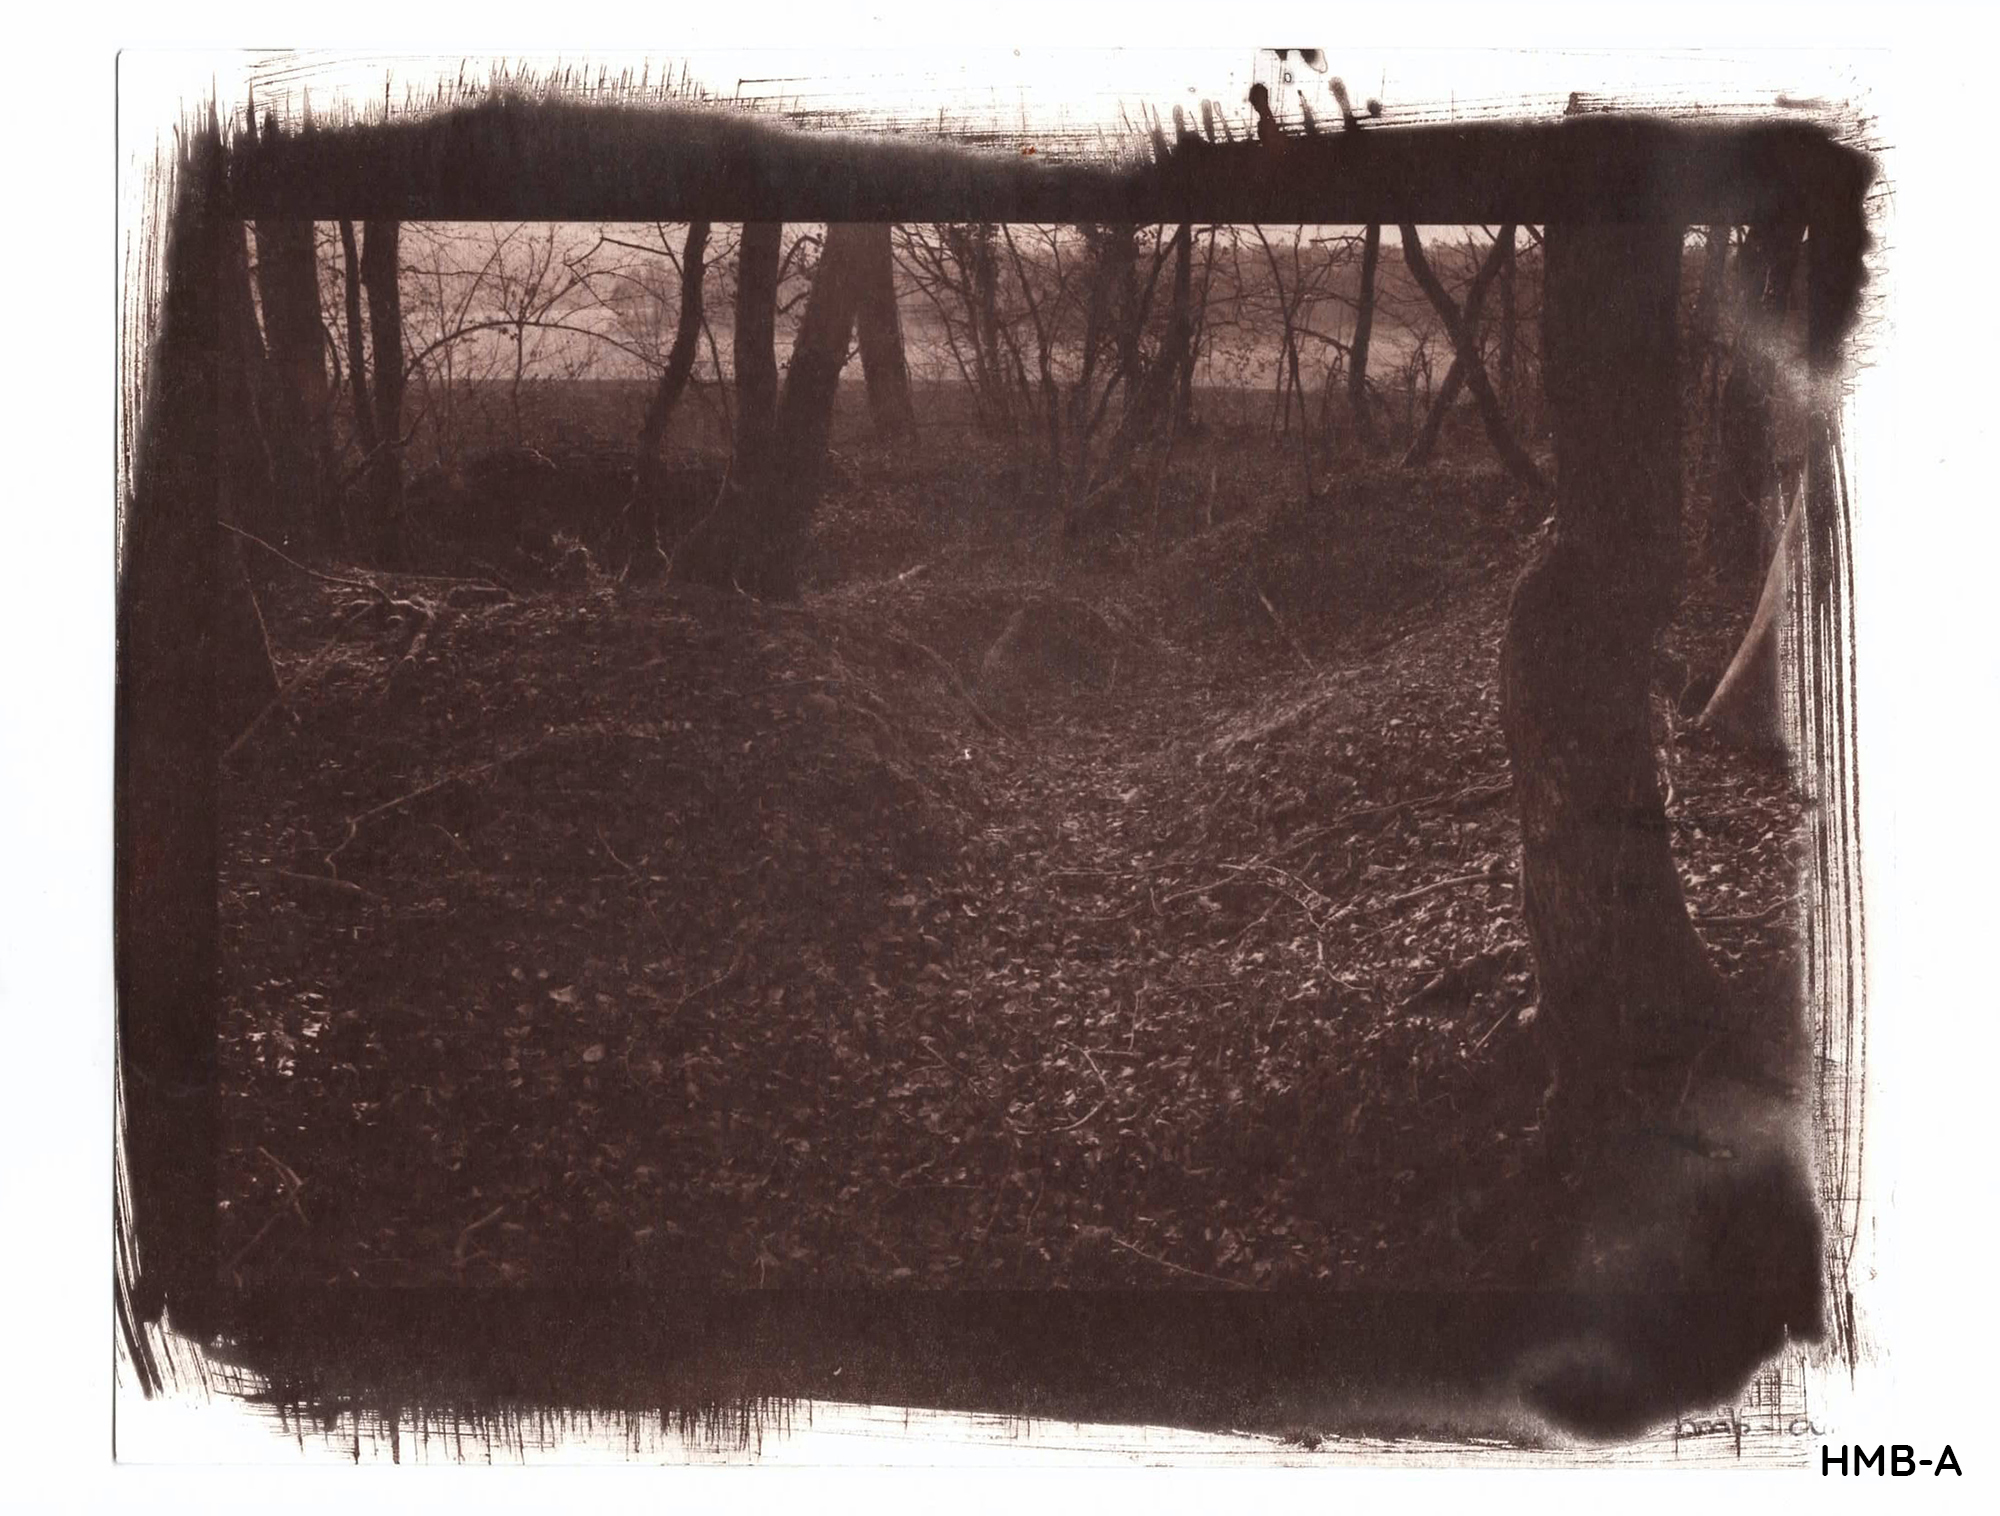


What I also noticed during the processing of these sheets is that during bath two, when I just poured out the first bath, I would let water running out of a hose into the tray to fill it up again. Apparently the pressure of the water coming out of the hose is so high it damages the emulsion and you get these lighter areas where the water directly hit the paper. You notice them especially on the left and right border of the prints. So, I’ll be using a separate tray for step two which is then prefilled with water to prevent these stains from forming.
What also could have caused this, on second thought, is the amount of time the Van Dyke emulsion had for properly drying. This time I left them to dry for an hour or so. I usually leave them for more than a day. Maybe the emulsion was still too sensitive after such a short amount of time drying. I never experienced this before so…
All in all a good experiment for fine-tuning this while having fun!
