
Going further in my Van Dyke quest I’m rereading literature on the matter, and also going back to my notes here on this very blog. Very helpful I must say, this blog also works as a sort of note book for all my things alternative, where I can go back to find all the little details I forgot in my head.
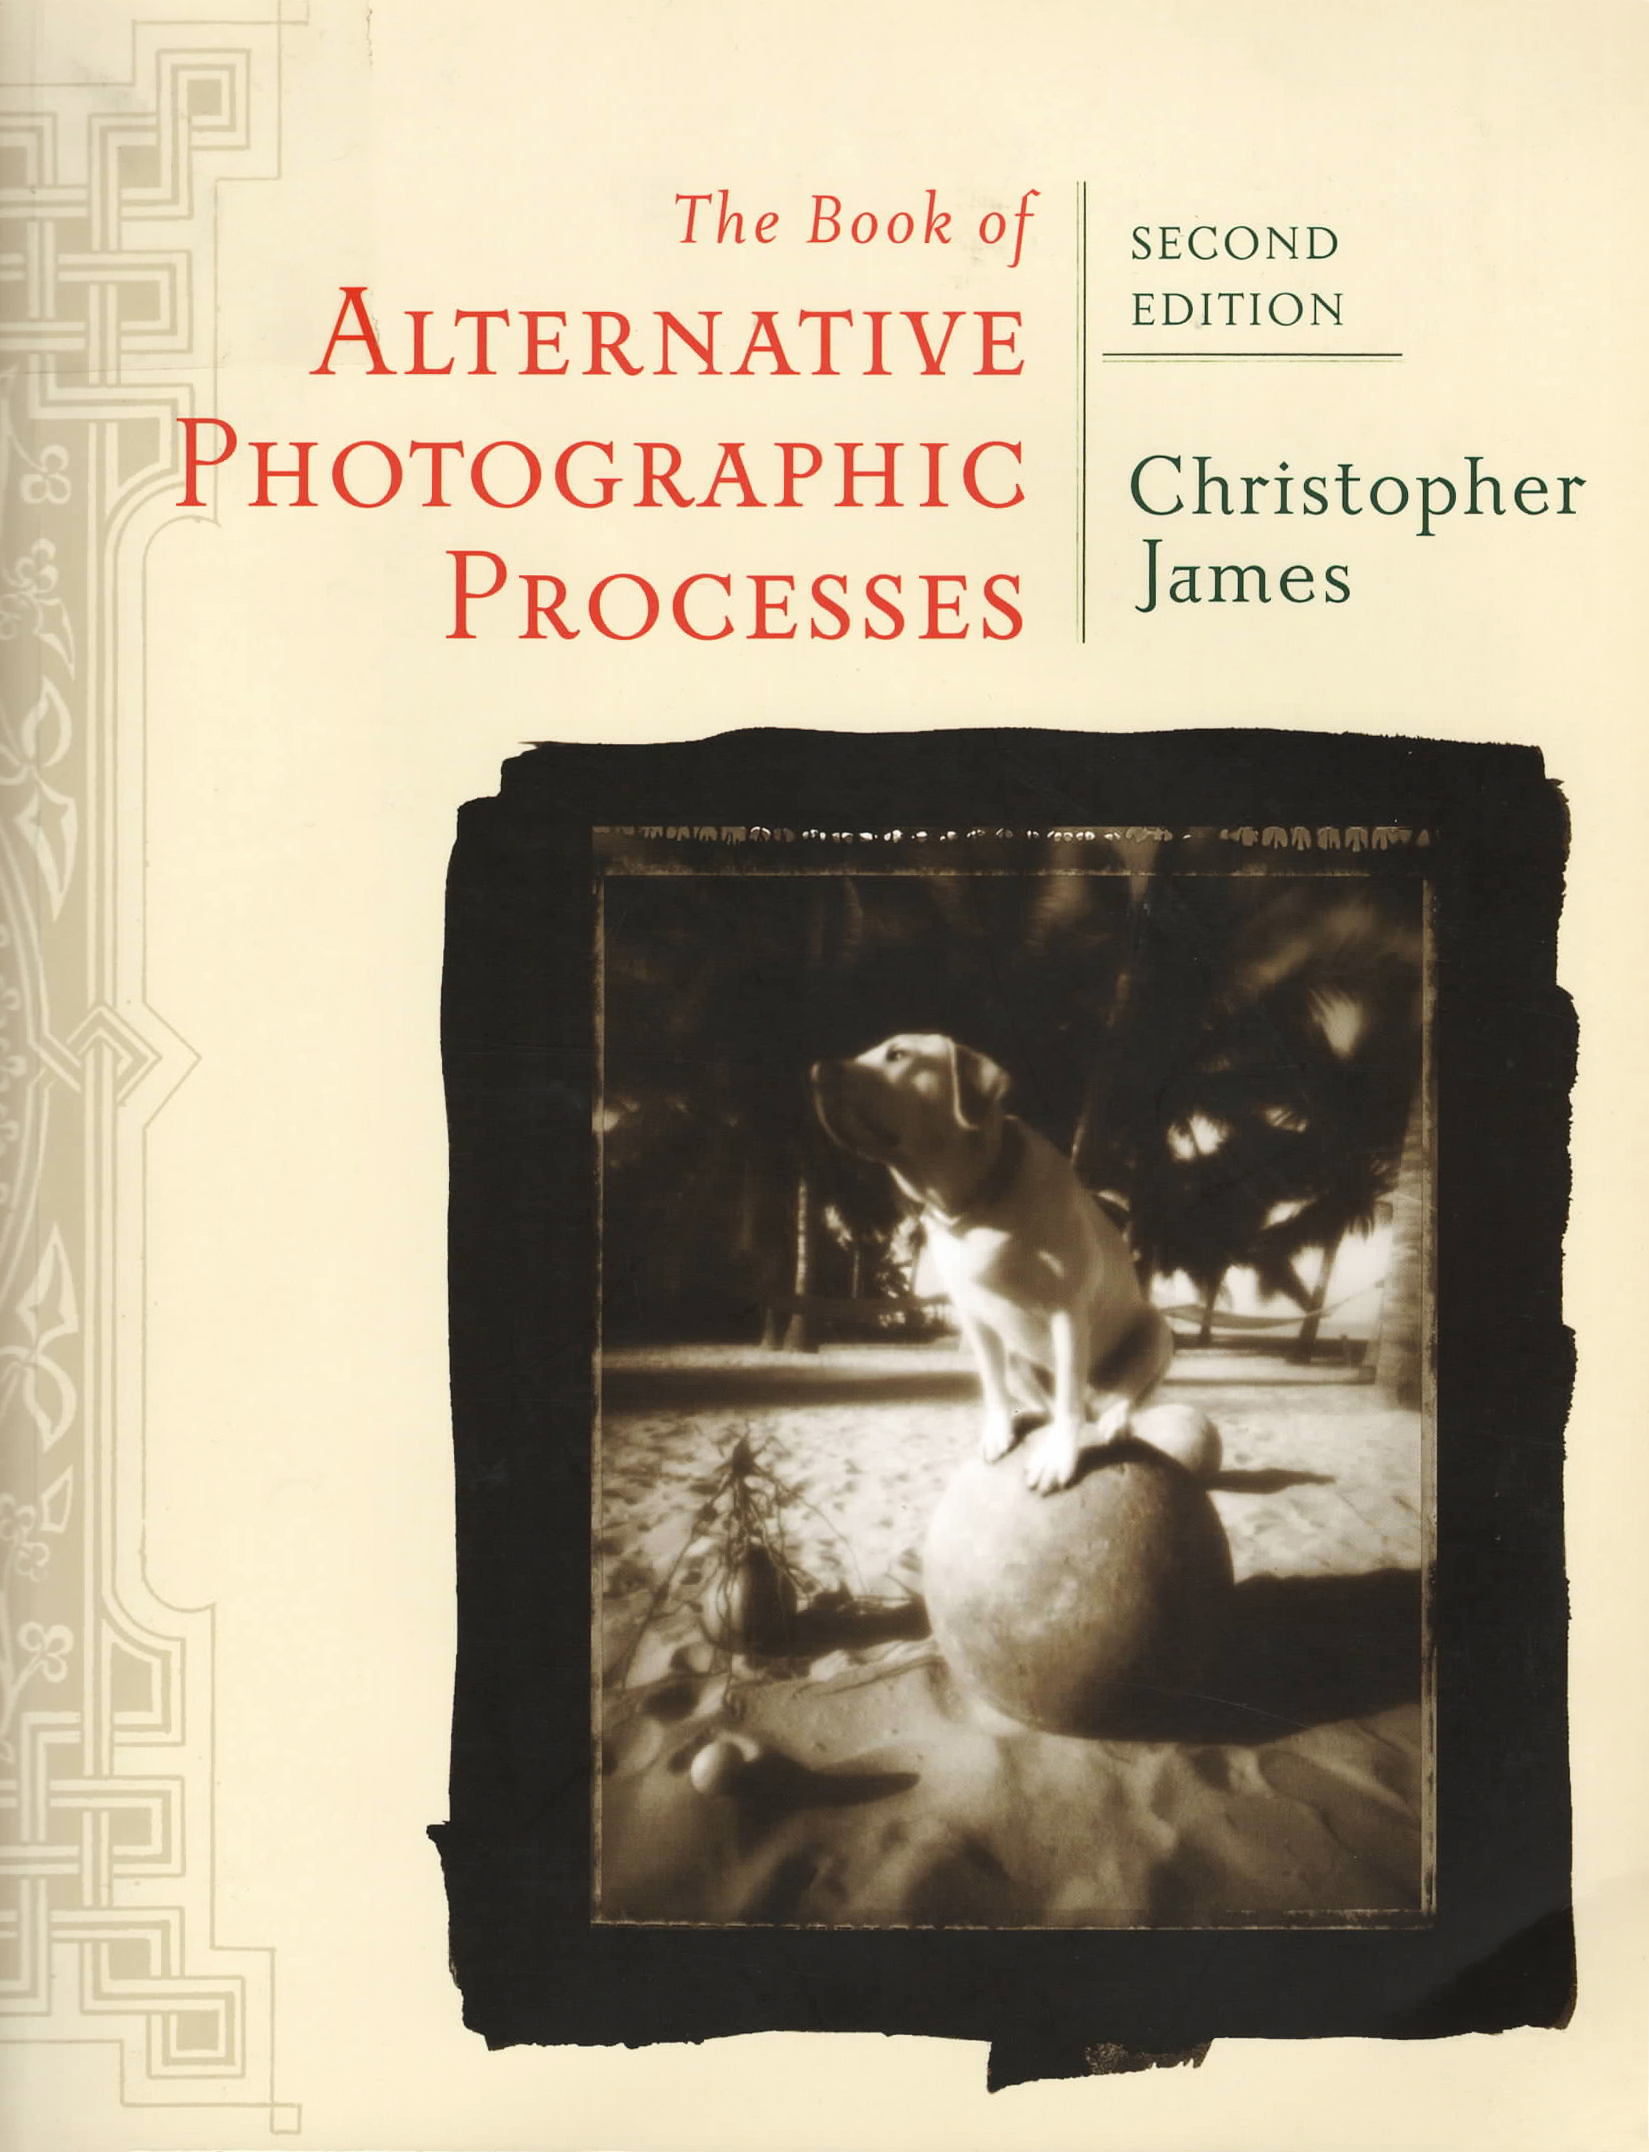
In my first post(s) I referred to the way of working as used and described by Sandy King. I found information online via the website of Koraks which I shared a few days ago. I looked up information in the Historic Photographic Processes book by Richard Farber. And now I’ve been reading some more on the process in Christopher James’ The Book of Alternative Photographic Processes. It’s nice to see these different takes on the process and compare them (as much as I can). To me at this point, it feels as if the latter has the most comprehensive look on the process, certainly regarding its archival qualities, and how to reach an optimum result as possible. For future reference I will recap the steps in the process he describes, below.
After exposure:
* Tray 1: distilled water + pinch of citric acid – 1 minute.
* Tray 2: wash development / running water. First part is wash development with a pinch of citric acid – 2-3 minutes. Second part wash under running water – 2-3 minutes.
* Tray 3: 3% sodium thiosulfate fixer – 1-1,5 minutes. Mix 30 grams of sodium thiosulfate and 2 grams of sodium carbonate to 1 liter of water. The sodium carbonate minimizes the bleach effect of the hypo fixer.
* Tray 4: optional sodium sulfate clearing bath – 1-2 minutes. Mix 10 grams of sodium sulfate to 1 liter of water.
* Final wash.
If you wish to tone the image, do so between washing and fixing.
Let the sensitizer age a few days to get the best result.
The extensive amount of washing is what draws me to this version, combined with the short period of fixing. The previous versions I read mention a fixing time of 6-8 minutes which is relatively long, especially when you consider most of the problems occur because there’s not enough washing of the print and residual fixer is left behind in the print. The next prints I will be following the steps as mentioned above. I’ll leave out the clearing bath for the smaller test prints but will definitely add this when making bigger, more final prints. I have not yet decided whether to tone or not. Gold is so expensive, and you can only use the solution once. I still have some selenium left, but not sure whether I will like the coloration or not. I secretly hope the extensive washing will be sufficient.
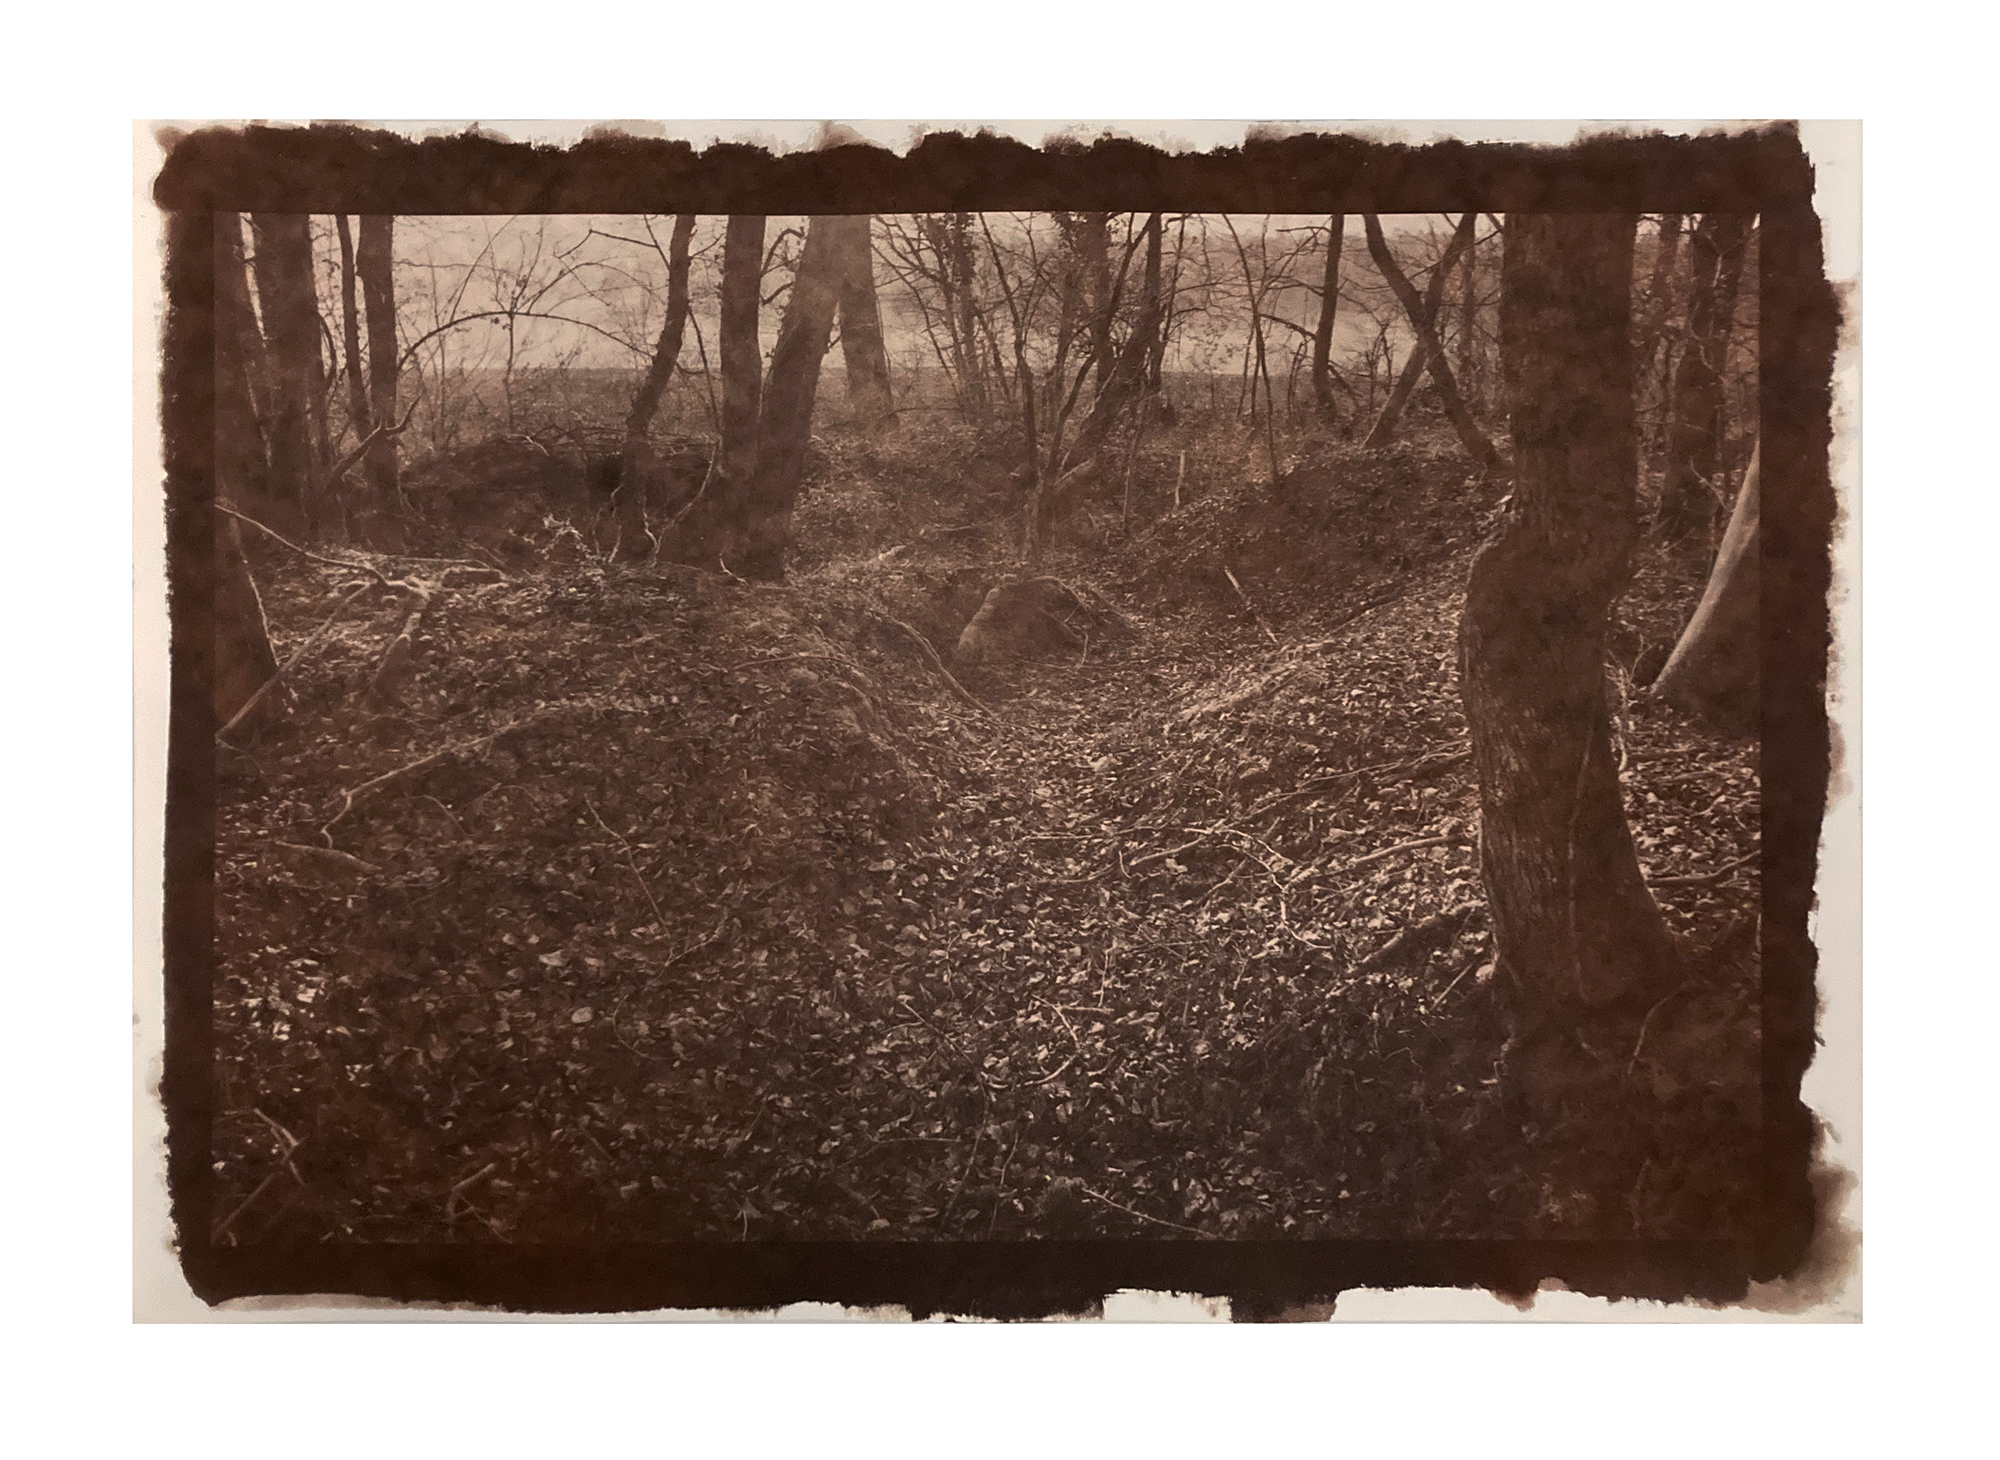
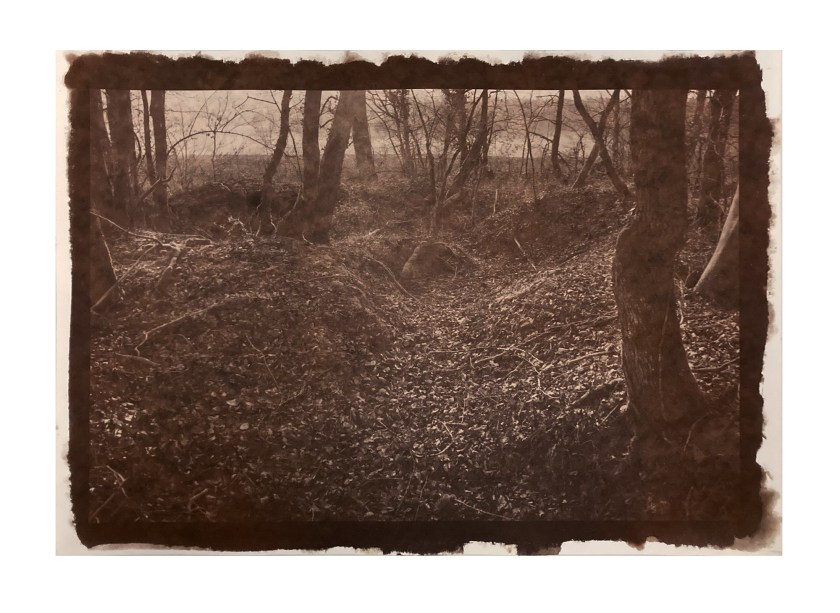
Above is an 11×17” Van Dyke Brown print from a digital negative on Hahnemuhle Bamboo paper.
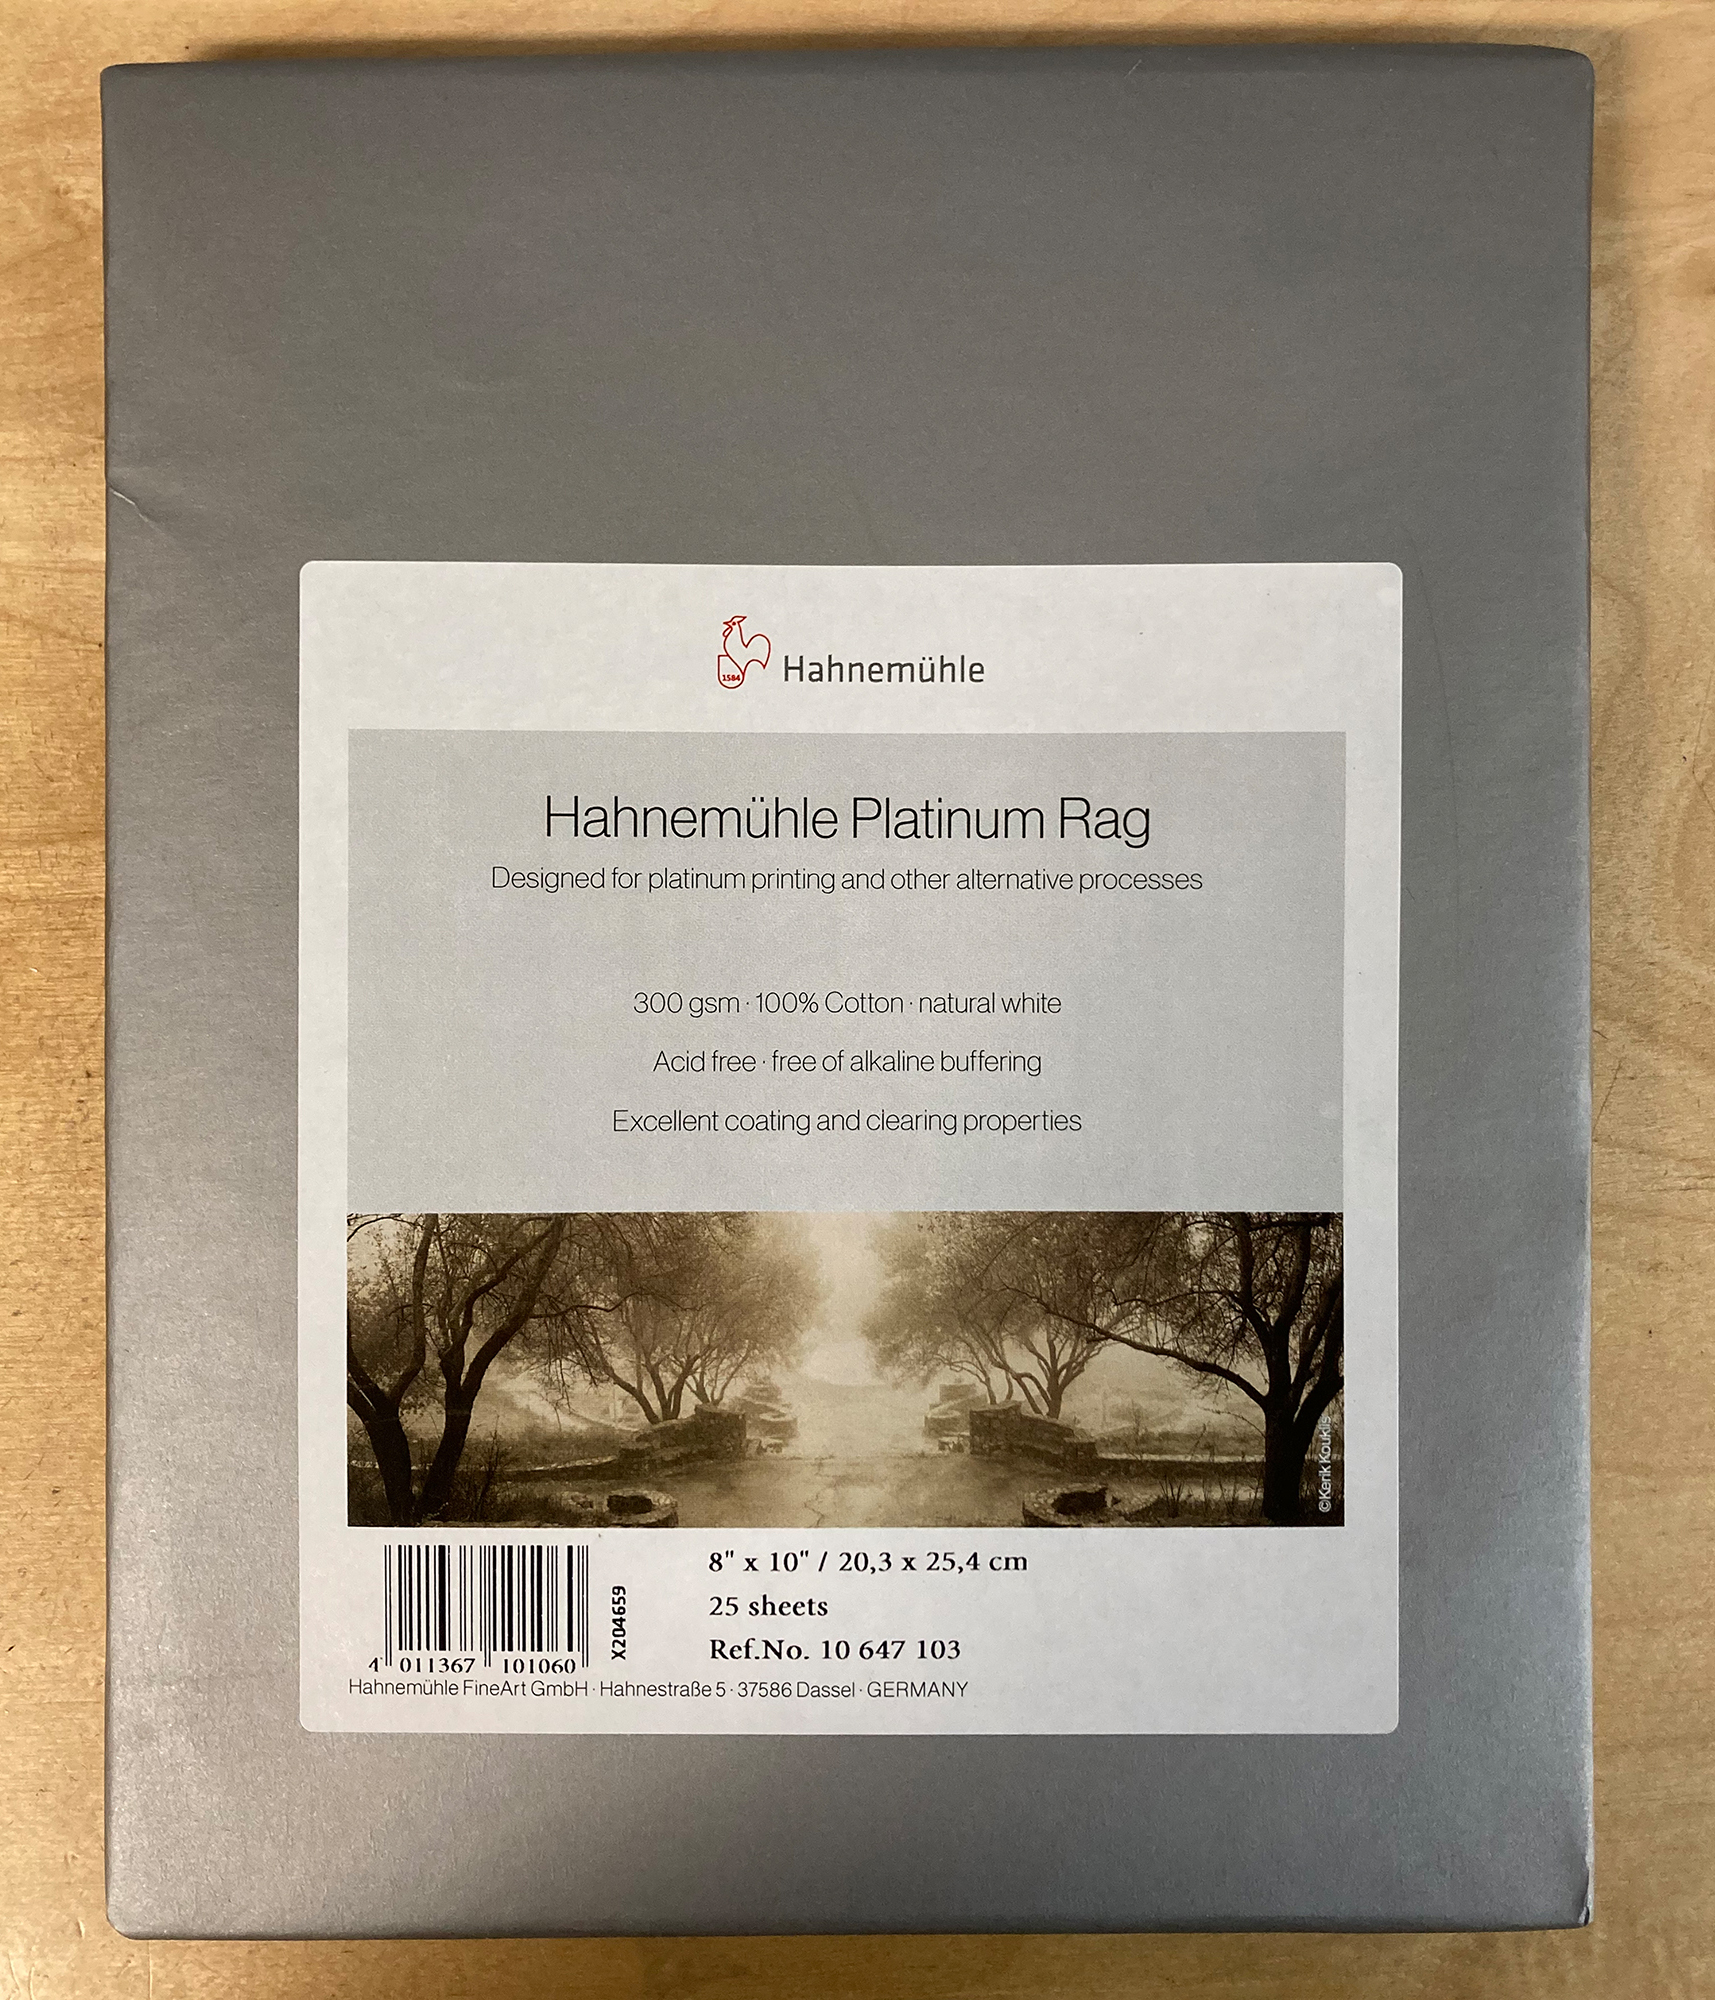
This is a test print for the upcoming exhibition in August. The print is a bit cloudy, probably due to not having acidified the sheet prior to printing. The Hahnemuhle Platinum Rag arrived, which I coated yesterday. Plan on exposing them over the weekend. Looking forward to these results!

One comment