

Or better put; I don’t like the color of cyanotypes. A landscape in blue is just too weird for me. Pretty much anything in blue really is. But, as I have time on my hands and I’m thinking about making a new bathroom / kitchen or whatever will come first (probably neither of them), I was thinking of making my own tiles, instead of buying them. Well, buying simple tiles, unfired ones, and print images on them using the cyanotype process.

The reason I would choose cyanotype for this is that there’s no need for fixing etc. which makes properly rinsing them a lot easier. The cyanotype process is a very stable one. When images are thoroughly rinsed afterwards they should keep for many years, possible even decades. There are options of varnishing the tile using a spray or brushing liquid onto the final image in order to make it less prone to getting damaged. I still have some Liquitex varnish which I don’t use for collodion, but could come in handy here.
The other option to increase stability is to fire the tiles after creating the images on them. This will alter the color of the image to a brownish finish which is more to my preference anyway. The experiment of today however, is with two fired, glazed tiles that apparently were left-overs used by the previous owners who remodeled the bathroom here. I used no ‘sizing’ layer to increase the adhesive qualities of the tiles, because I had no stuff at hand to make it (gelatin hardened with glyoxal), and because I was lazy also 🙂 So, the results will probably be a tad disappointing, but fun nonetheless, which is a good thing on its own! I did sand one tile a bit more intense than the other to see what a difference that makes, if any.

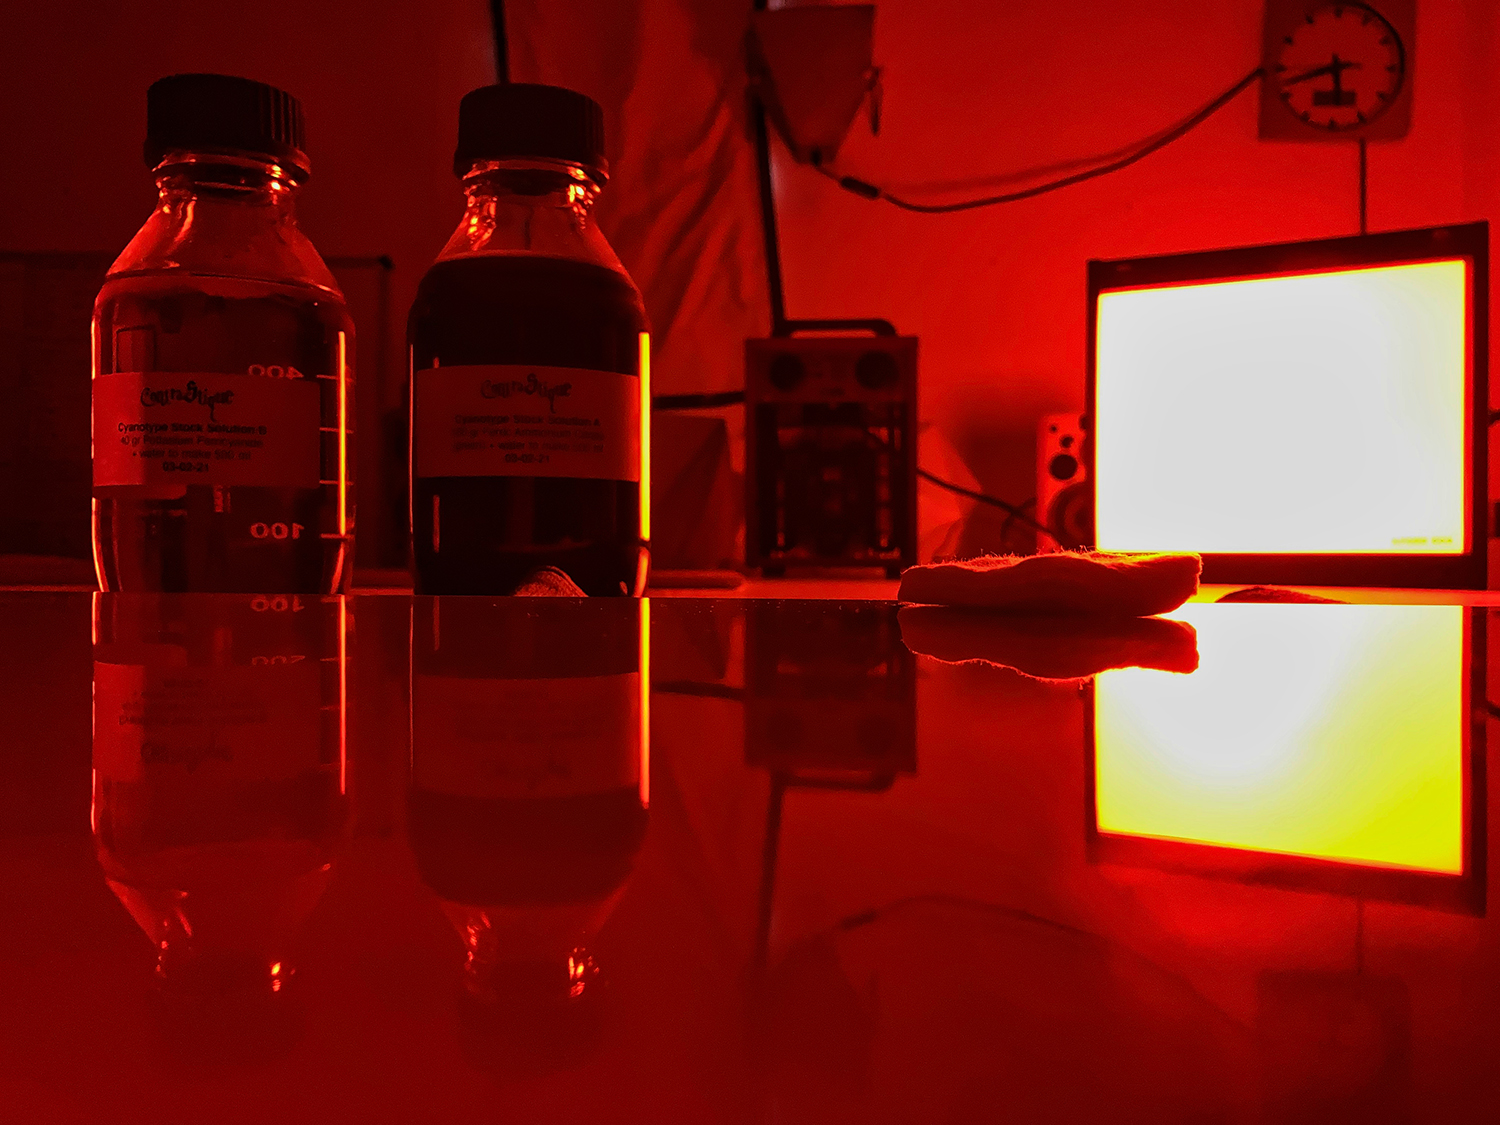
On to the formula used then. I have quite a large stash of different chemicals to experiment with, and luckily happened to have the two ingredients needed to make a batch of cyanotype sensitizer:
Standard Cyanotype Sensitizing Formula (as found in Christopher James’ The book of alternative photographic processes – Second Edition)
Stock Solution A
400 ml water
100 gr Ferric Ammonium Citrate (green)
Add water to make 500 ml
Stock Solution B
400 ml water
40 gr Pottasium Ferricyanide
Add water to make 500 ml
Parts A and B can be separately mixed in normal ambient light and will work best after a ripening period of 24 hours (which I didn’t do). Store the two in dark conditions and they should keep very very very long. Once mixed their usable life will shrink immensely, up to several weeks at best. You can mix the two on the fly so no need to have a combined solution at hand.
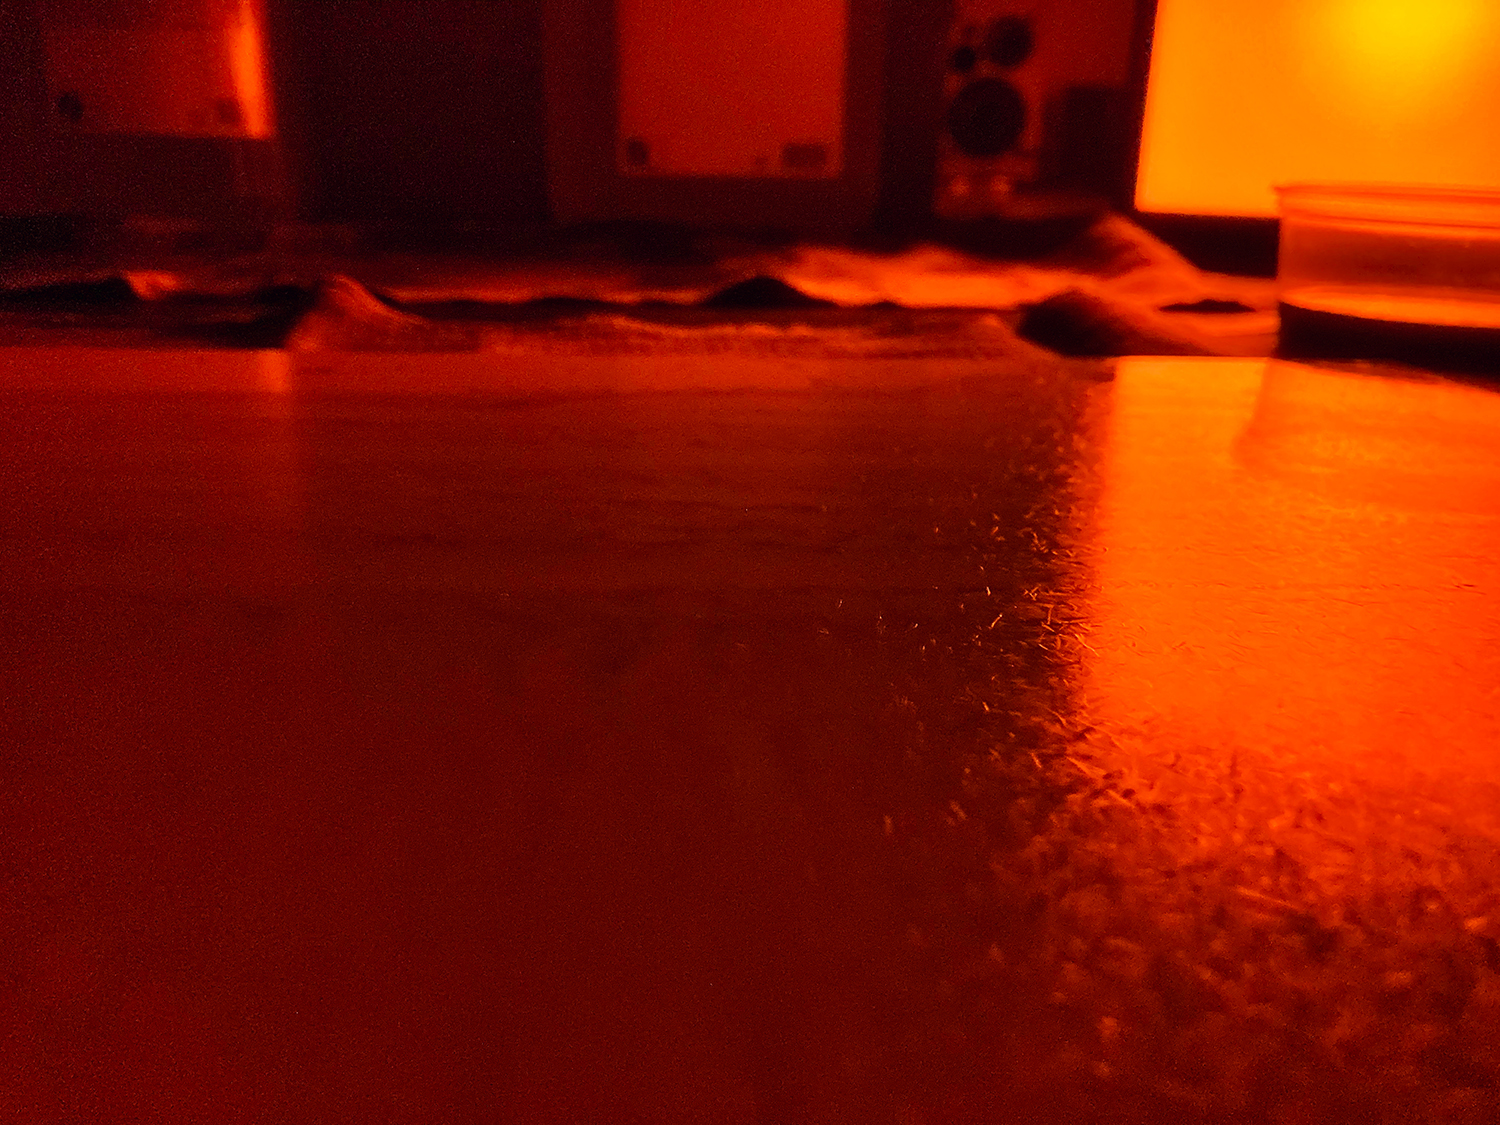
I’m doing a double coat to increase density, and because I have not treated the tiles before coating. I am a fan of instant satisfaction so I might add a ‘splash’ of 3% hydrogen peroxide to the water after the first rinse to get this instant-wow effect (which it apparently causes). The blues will intensify and the tile will look like it has gone through all stages of washing and drying without the wait. And wash again after the first thrill is gone then 🙂
As you can probably tell by the way this piece is written I’m currently in the process of preparing the tiles. As we speak the first layer of coating is drying and I’m biding my time before I can put on the second layer. Edit: I just applied the second layer; too fast probably..my impatience gets to me sometimes 😉 I just can’t wait to see something… I will expose for about 45 minutes but will inspect the tile as time passes.
Well…and then what happens? Well… the tile has dried (pretty much) and is currently being exposed. I’m going to look at it in 20 minutes to see how it fares…the waiting is…something I am very good at 😉

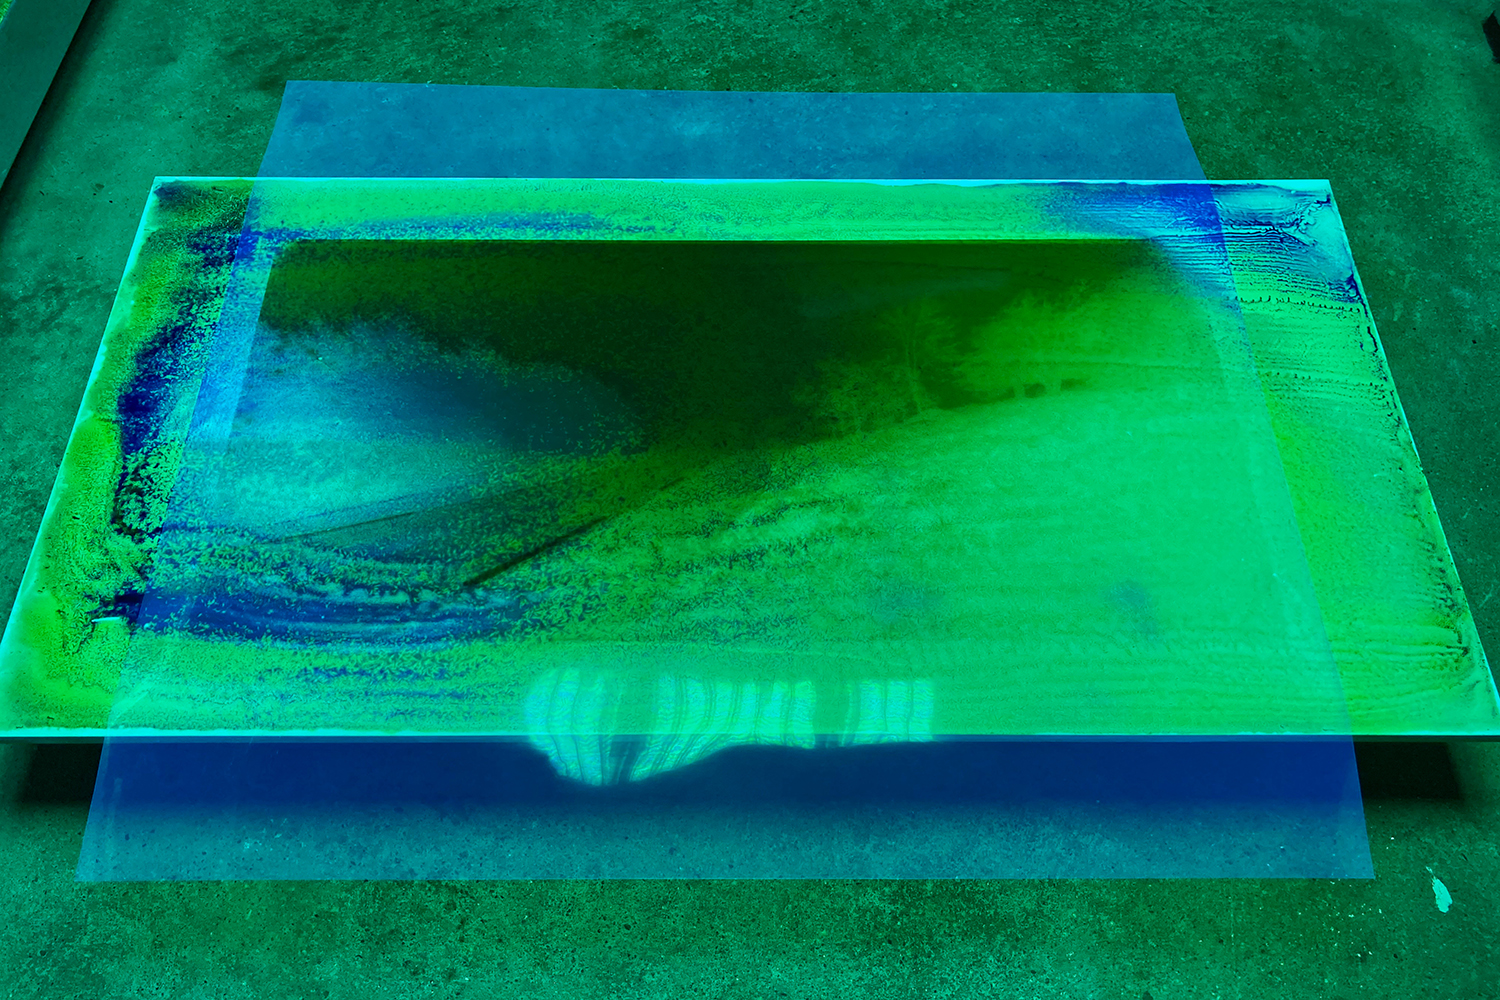
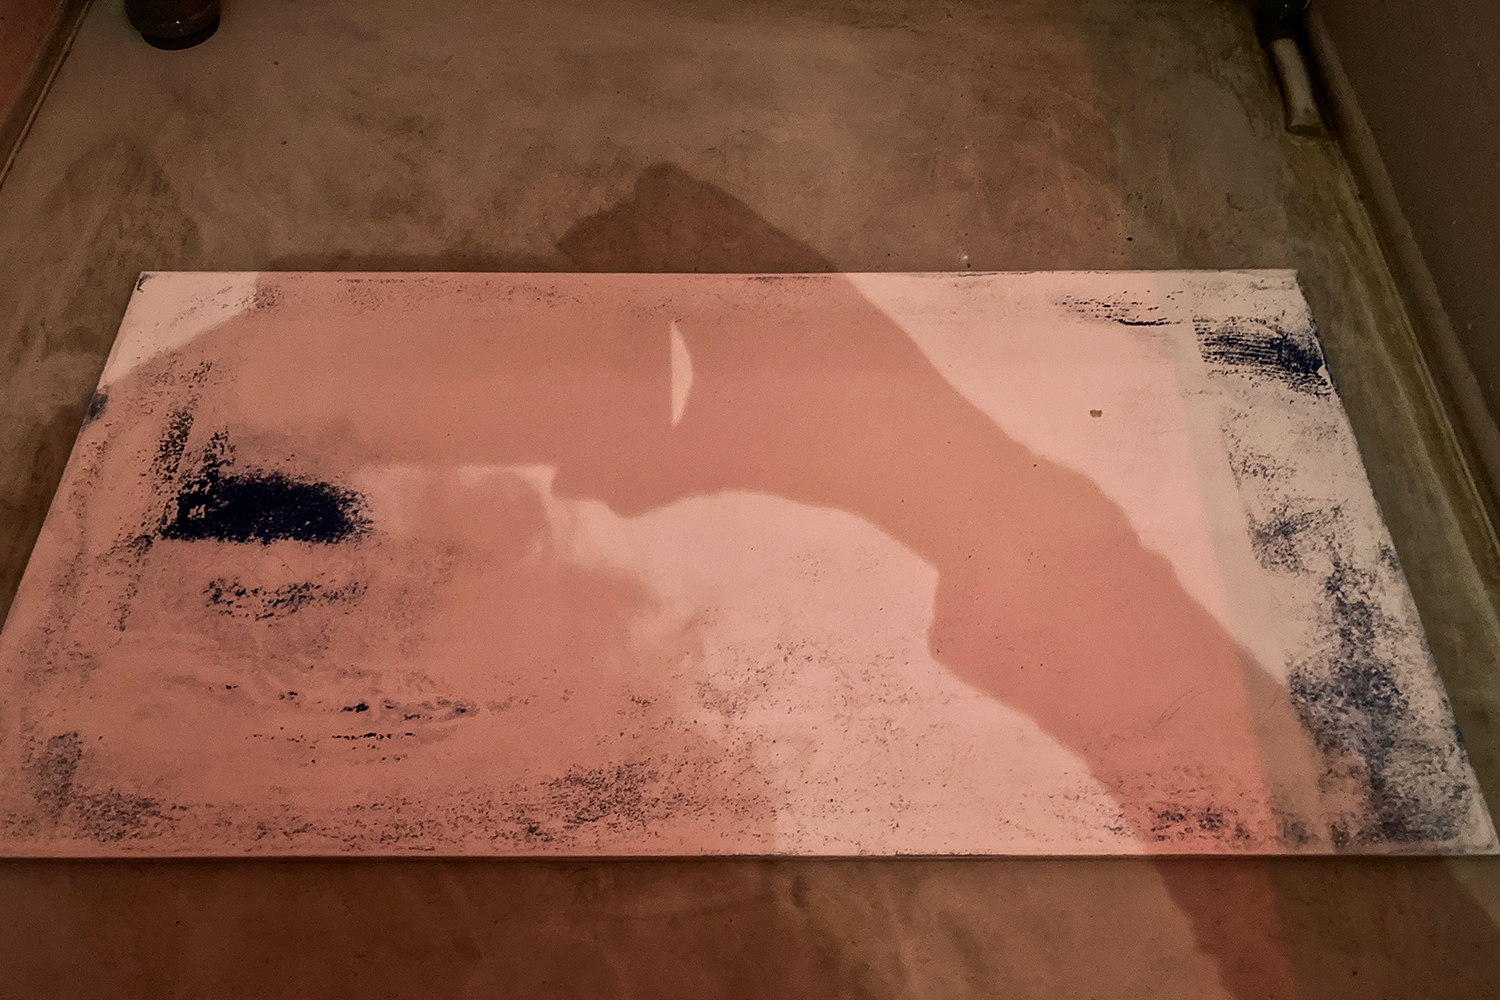
The water just wiped the image of the tile..subbing is needed in order for the emulsion to be able to stick to this kind of surface…kind of to be expected but anyway. However, the adding of the hydrogen peroxide was indeed quite stunning 🙂 Whatever had a color got a nice oomph effect!
That was it for day one I suppose…or I get me some proper tiles (or maybe I will try the back of the tile but it has a structure). Ciao!

Dear Indra,
Stumbled on this by accident. The post is already 2 years old. Have you tried this again? I have managed to print on glass and other smooth surfaces by coating with gum or gelatine and then using dichromate to harden. It is crucial to use a good wetting agent. I let the emulsion flow naturally off the glass, instead of trying to apply it with a brush or rod. It is possible to use gelatin/glyoxal, but it quickly becomes sticky and I have had difficulty getting a uniform base when brushing it on. I have seen reference to the use of clear acrylic gesso. On a white background one can also use the standard opaque white gesso. Something to try, maybe. Another printer has mentioned using an airbrush to spray on the base coating, letting it dry completely and then hardening afterwards. This I haven’t tried, but it seems possible. Perhaps gesso is good enough, but haven’t tried.
If you like cyanpotype printing but not the colour, then maybe try this. Tannin tone the print BEFORE bleaching it. Then once the densest parts are just about black, you can bleach in very dilute sodium or potassium carbonate, followed by thorough washing and another toning. This gives me a very solid nearly black, which is not lost during bleaching, unlike when bleaching first, when I only get a murky grey-brown. I’ve used several tannin sources, but green tea seems to stain the paper the least and gives the nicest overall tone.
Your work is captivating and beautiful. Keep it up.
Met vriendelijke groet,
Jaco Adendorff
Sint Pancras
Dear Jaco,
Thank you for your extensive comment! I have not tried it again (yet). So many other things grabbed my attention in the meanwhile. I get distracted too easily I guess 🙂
The use of gelatin is something I thought of indeed; (I think I did give away the dichromat a few months back because I never use it, oh well) you need a substrate which binds the two elements together. Great to hear this worked out so well for you. And that flowing the emulsion, like I do with collodion on glass, is good way to approach the coating. That sure does make sense, more than trying to brush it onto a smooth surface. Airbrush sounds also plausible.
Thank you for your thoughts on making the non-blue cyanotypes. Not sure if I will try this soon; I’ve recently started with platinum/palladium and I want to do more using that, albeit a ‘tad’ more expensive than cyanotypes. Anyway, great food for thought and happy you shared them.
Thank you for the nice words about my work also.
Met vriendelijke groet,
Indra Moonen