
I guess this post is more of a sum-up of my own thoughts for future reference than they may be useful to anyone else..but anyway…!
I’ve printed some images over the past two weekends, trying to improve my coating skills and to figure out if and how I am to use it for the Serendipity project.
Coating skills have improved, I coat using a cotton pad dipped in emulsion, and swiping it over the paper from top to bottom, left to right, while turning the paper four times so that I essentially create a four-layer coating.
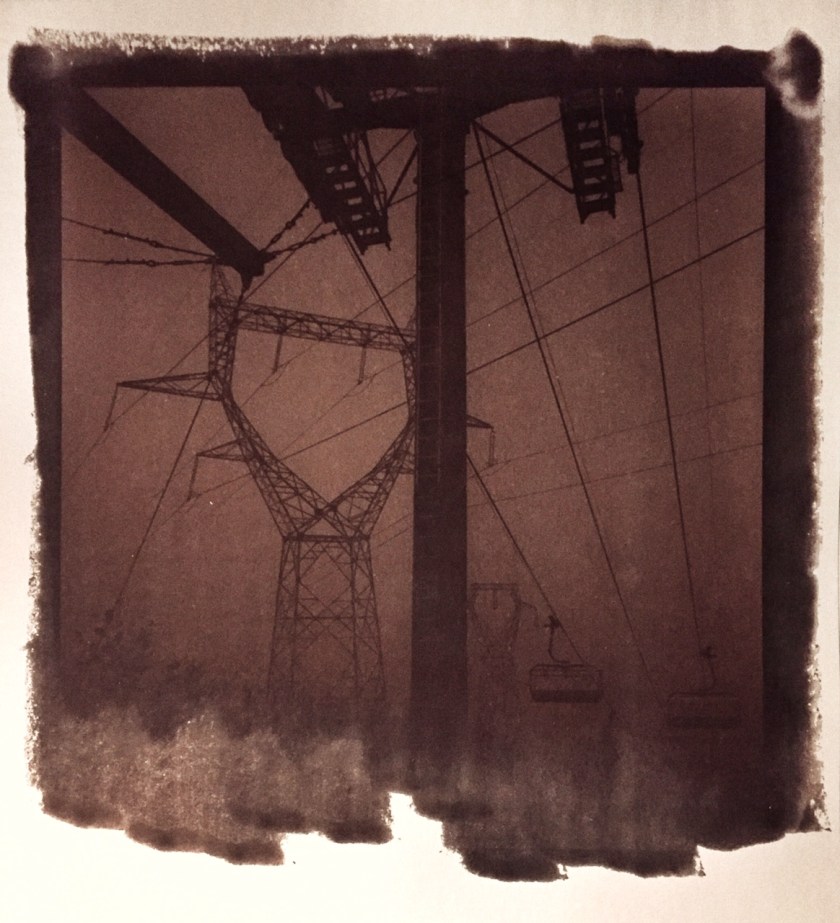
It’s pretty even, although I have to try to be a bit more consistent in applying as you can tell by the look of the image attached to this post. What I do find a bit ‘stressing’ is the way I attach the negative to the paper before placing it into the contact printing frame. The tape I use sucks. Apart from it leaving a nasty residue on the negative itself when removing it afterwards, is that it shows on the coated area. So have to use different tape and perhaps attach it somewhere else. Bigger border around the image so it doesn’t interfere with the coated area on the paper, something like that. If anyone has a proper method for this, feel free to chime in 🙂
Also, I don’t like the messy borders. It’s fun, but it’s distracting from the image itself. So I’m thinking of making a sort of cut-out mat which I place on the paper before coating so I can create a slick and even border. If anyone has a brilliant idea there, shoot! I’ll look into it myself but the wheel has already been invented…like a trillion times 🙂

And..on the developing part; I now develop using a single water bath before fixing. I’ve let myself get away with that until now for ‘testing’ purposes but it’s time to stop playing around and do it the right way. Archival printing has been my way of working with regular baryta papers (fix, rinse, hypo, rinse a shitload more, selenium / gold toning, rinse and so on) and want these prints to last as long as they possibly can too. I read some interesting stuff on the website of Sandy King so will be going more into that way of working next time. Have everything I need for it anyway so no more excuses, ha!
So, new steps summed up (makes it easier for me next time):
- Sensitiser, expose image la-die-da-that
- Development using a two-bath method, with slightly acidified water (teaspoon of citric acid to 3.8L of water), two minutes each.
- Toning: gold thiourea toner (of which I bought several bottles of Tetenal back in the days) for 5 minutes, discard after each use (f*ck though, that makes it expensive).
- 5% Sodium Thiosulfate fixing bath ( for some reason I now use a 3% dilution). A two-bath fixing method is recommended for the best archival quality, two minutes in each bath.
- Clearing bath; I still have some Kodak Hypo Clearing somewhere, but you can easily make it yourself by adding 10g sodium sulfite to 1000ml water and stir until completely dissolved. Mix before usage and discard after usage. Two minutes.
- Final wash: 5-10 minutes when clearing bath is used, 20 minutes without.
So, it’ll get a bit more serious than before, which is good. I have some ideas in mind with the negatives shot in France this year, that I want to contact print using Vandyke.

If you would start with a wooden background, put the coated paper on top of it, followed by the contact sheet, with a wooden passepartout as finishing touch.
The background and passepartout will serve as press.
Put a lot of clamps all around and you don’t need any tape.
It’s an experiment worth trying.
I made a drawing of it that I can’t post.
Good luck