

Woehoew, last Friday was my Magic Friday! I left for Boerdonk early in the morning to arrive there at around 10 for the start of the dry plate collodion workshop given by Jeroen de Wijs together with Jetfire Jefferson. Three days of photographic history amazement and happiness. It all went by like it was nothing and it’s all sinking in now. It was a great couple of days, I learned a lot, had fun, drank lovely wine, enjoyed lovely food (thank you Ina & Wim!), saw a classical concert and even enjoyed a little bit of hotty sunshine. This summer will be dry plate time 🙂
P.s. Apologies for some unsharp images. I tried my best to hold still but I got all excited haha! This time the images are taken with a proper camera, not the iPhone, ha 🙂
Day 1: Preparing the plates
Some things are quite the same as with wet plate, some things are totally different. Cleaning the plates is where it starts, same story but I realise now more than ever that I can do a better job at that next time making plates 🙂

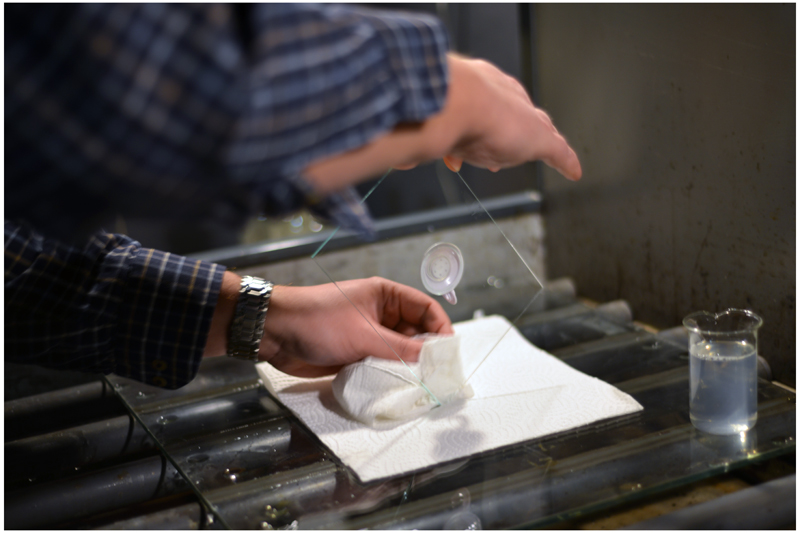
After the cleaning part it’s time to steam the plate before coating it with a layer of albumen. This happens by heating water in a beaker and hoovering the plate above it (make sure the suction cup works!) so to get an even layer.

Then it’s time to sub the plate with albumen (=1 egg white to 1 liter of distilled water). You do this by pouring the albumen over the plate as you would with collodion. This layer keeps the collodion layer stick to it when you arrive at the developing stage. The main compound of the developer is pyro and it makes the collodion layer shrink. With black glass ambrotypes you do not need to sub the plates as the iron sulphate based developer doesn’t have that specific characteristic. After pouring wipe the back of the plate carefully so no albumen residue is left; this will pollute the silver bath. After that the plates are left to dry.

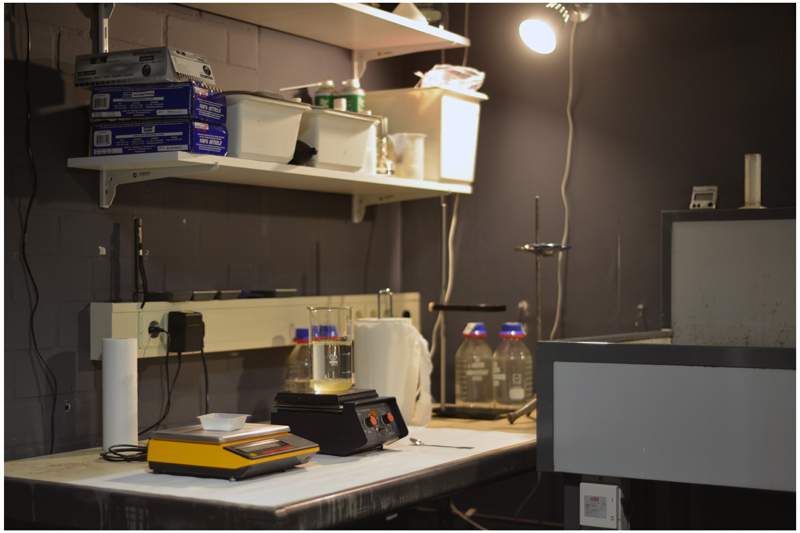
As soon as the plates dried it’s time for the silver nitrate to come in. Standard bath you use with wet plate so that’s convenient. Filter and ready to use (I took this image as I found it a real handy way of filtering the bath into the box).

The dry plate process we did was the Tannic Acid Preserved Collodion Negative variant. Tannic Acid is the compound that keeps the pores of the collodion open so that when the plate gets developed later on the developer can reach the sensitive layer and actually develop the plate. With wet plate you have to develop etc. before the collodion dries out because when it does it closes its pores so that developer can’t penetrate the layer and no development is possible. Tannic Acid keeps that process from happening and enables the plate to dry and develop later on.

When the subbed plates have dried (depending on humidity and temperature this takes about an hour) you can pour the collodion on the plate. This is as with wet plate though now you use a negative collodion. After that the plate goes into the silver bath. The duration of the time in the silver bath is determined on inspection. When the silver nitrate leaves no streaky residue on the plate it’s good to come out. This can be within 2 minutes or after 5, depending on the age of the silver bath (the older the longer). After the sensitising the plate gets rinsed (in safelight of course). Then follows the tannin bath for the plate to go through. And then the plate is left to dry again, in the dark.
Day 2: Exposing and developing the plate
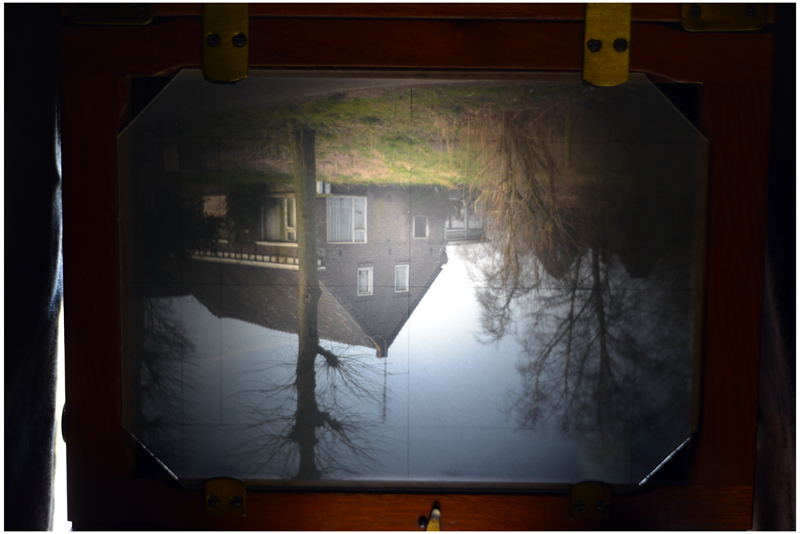
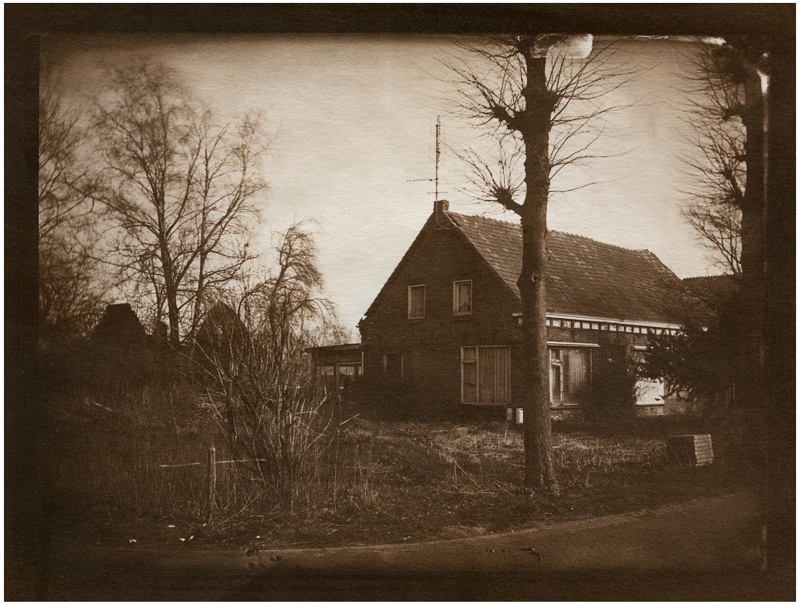
Wahhh the exciting time begins! Prepping the plate is not difficult, you just have to follow procedure, carefully that is with attention, and it should be fine. Exposing and developing is where the challenge begins! We head out to an abandoned house which looked really nice. We sat up the cameras, I used a 5×7″ camera from Jeroen. He made sure some street was in the shot, as well as greenery, the house and air. Proper ingredients to help determine developing.
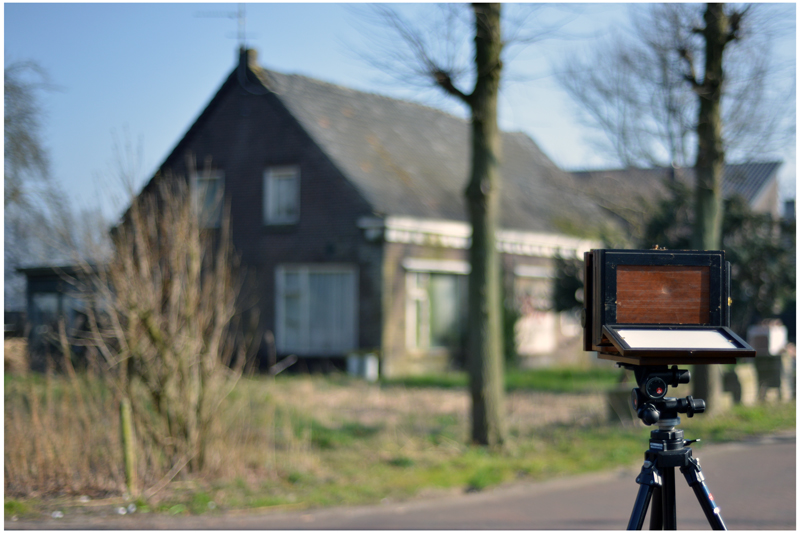
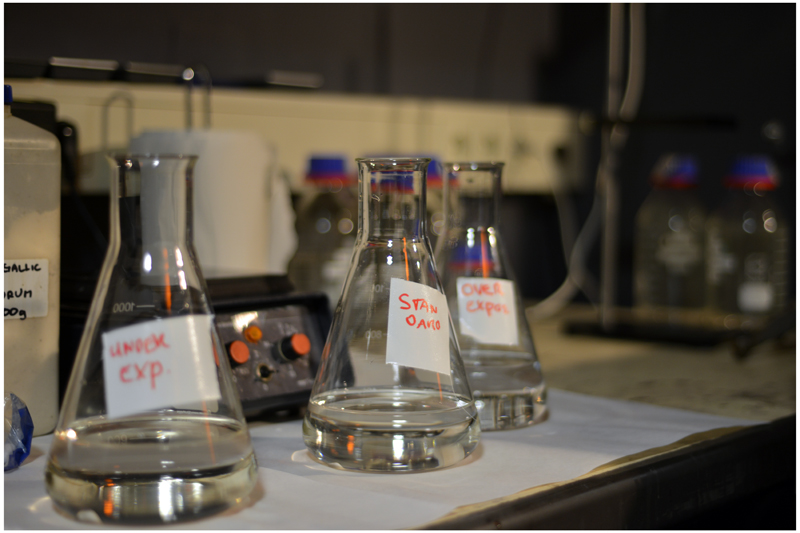
Jeroen measured the light with a Minolta Autometer IV set at 100 asa and measured an EV of 13. According to his calibrations this should come at an exposure time of 8 minutes at f11. We made one plate like that, one at 4 minutes and one at 16 minutes. A bit boring to shoot three plates of exactly the same thing but all the more interesting and learnfull when developing the plates. After we got back we made the developer, actually 3 variants. One standard, one in case of overexposure and one in case of underexposure.
After the baths were ready I took the plate out of the back and placed it in a mixture of alcohol and distilled water. This bath is meant to open up the pores of the collodion / get the tannin out (alcohol is a solvent) so that the developer can get easier access. After that the plate gets rinsed a little until the alcohol is off it and then it’s ready for developing. We started with the standard developer and with each developer bit we used we added a little silver nitrate solution to it (the quantity depends on how much and how fast you want density to build and at what point). At around 5 minutes I checked the plate to see how far the image had developed. If nothing is there you move to the underexposure bath, if you can see a lot you move to the overexposure bath, and then whatever you feel like comes in between.
That’s where the fun tweaking and carefully observing part comes into play. I really liked doing this. It’s a matter of getting a hang of the developer as with the way you apply it on the plate can either speed up the developing or tame it a little. It’s good fun! I can’t explain how it all went down in detail, it’s far too complicated to write it down in just a few words. When the plate has gained the density and development you’re after it goes into a rinsing bath for 5 minutes.


After this exciting part has taken place the plate is being fixed in hypo and then being rinsed again for at least 20 minutes. Drying is the last thing it has to do before varnishing. Varnishing works the same as with wet plate so nothing new there. I did learn a better way of keeping the drip lines to a minimum so that’s good! Also, warming the varnish using a coffee warmer is also a very smart idea 🙂

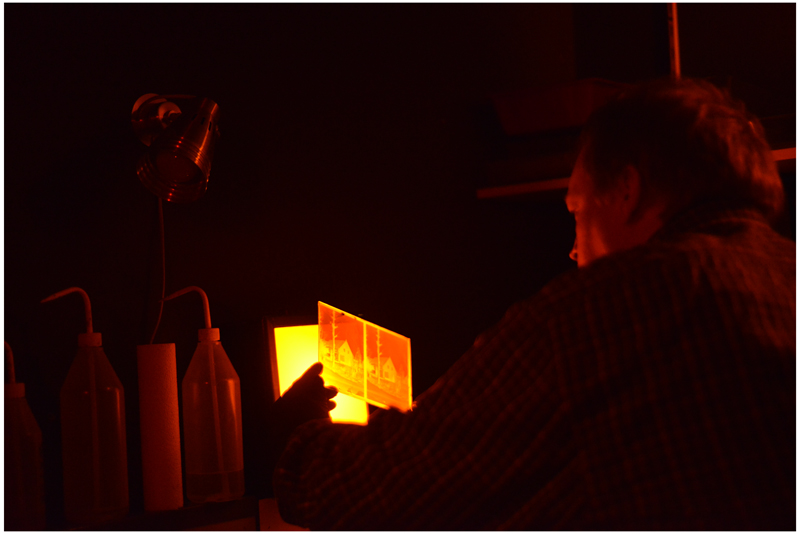
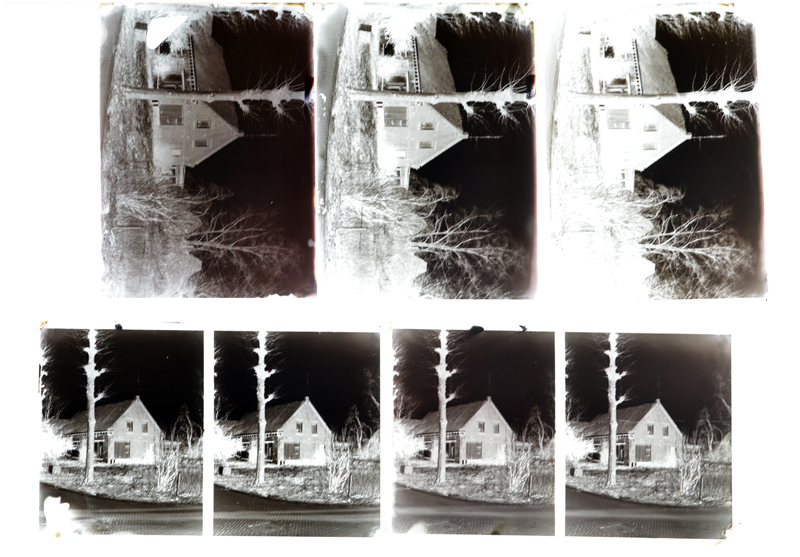
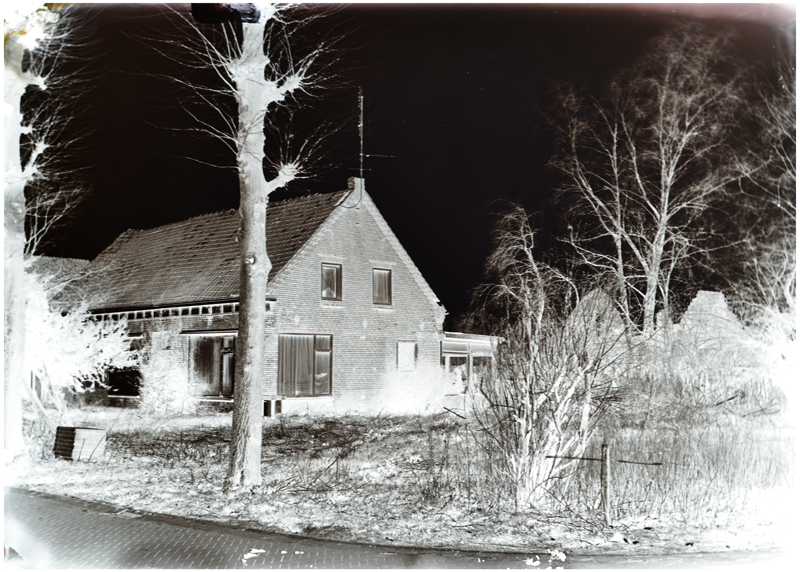
And when that is done, the negative is done! Ready for drooling all over 🙂 They invented a light tray for that. Also to properly judge the negative of course. With my 3 exposures you can see the overexposured negative to gain a reddish colour. The middle one at 8 minutes definitely printed the best the next day. The stereo negatives made by Mr. Jefferson looked wonderful too. The highlights look a little bit too washed out than they really are on these digital next two images btw.
Day 3: Salt Printing
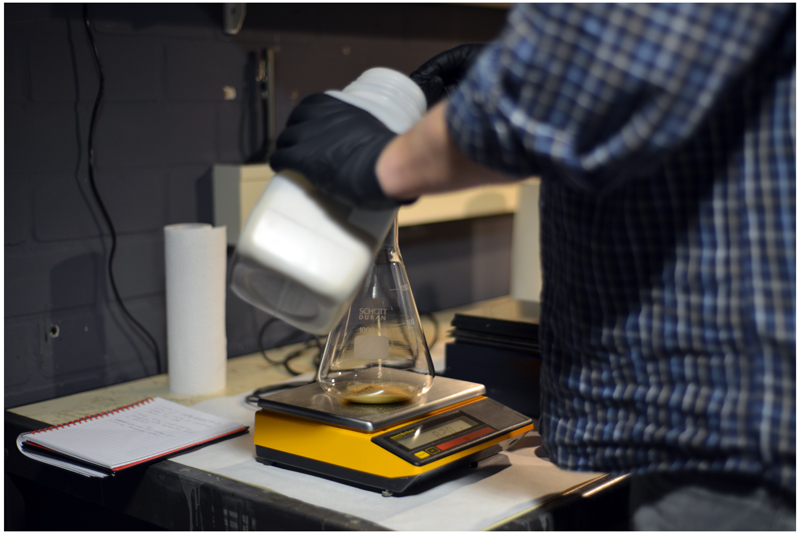
Yihaaa, another cool day! Or hot, better said cause Spring sure found her way to our Dutchie-land. The negatives had properly dried and were also waiting to become positive. We started with preparing the gelatine. Mixing it in water while heating it so it will dissolve properly. Once it did the salt (Ammonium Chloride) is added to the mix.
When it’s cooled a little it’s ready to be coated onto the paper. As far as coating techniques go, I won’t go into that now extensively. The method I discovered that day and preferred is applying the solution with a cotton pad to the paper.

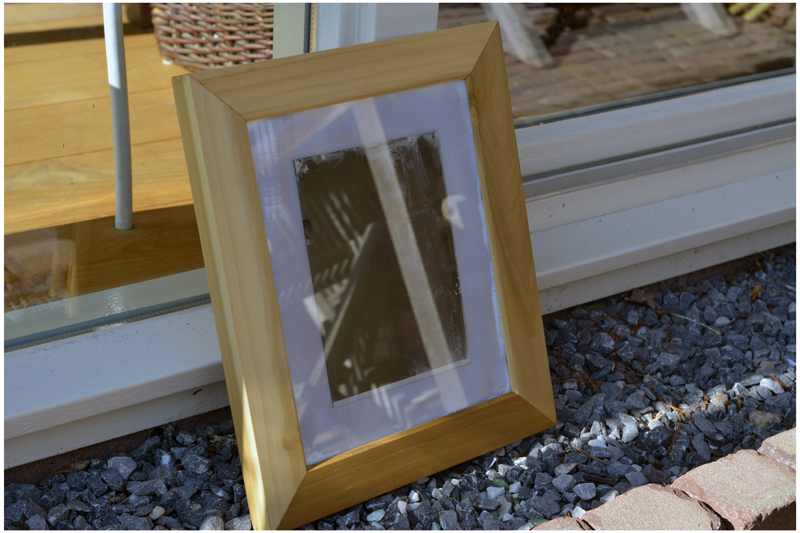
The paper is then dried with a hairdryer. Papers prepared like this will keep for years. When it’s dry it’s ready to be coated with a solution of silver nitrate (12% for more contrast, 15% for less). When doing this of course safe lights have to be used. After that the sheet is dried again and ready for exposure. This is best done with a contact printing frame. It makes sure the negative is firmly pressed to the paper, enables checking how the exposure is going etc. The weather was so good we enjoyed a nice cup of tea while exposing it in the sun/shade.

I didn’t count the time, why would I anyway, and when it was thought to be fine we went to the darkroom again to rinse and fix it, again in hypo. You can then choose to hypo clear and gold tone and rinse again, or use traditional toners before fixing. More on that later when I start using it more extensively. When drying the paper with heat it dries up more choclate-brownish than the images shown above.

When the print got dried it received a waxing. This gives the image a lovely sheen (saw some pretty ones by Julia Margaret Cameron at the Tefaf last year) and acts as a preservative. The wax is a mixture of bee wax and spike oil. The ratio depends on preference, for a more glossy finish use more spike oil. Make sure you attach the print firmly to an even surface like a table. Apply the mixture in strokes and then rub it in circular movements over the print. It smells wonderful and is nice way to end a print I must say. Much much better than selenium toner 😉

And that was kind of it… all that’s left is to digitise the print, which is quite hard really. I had to scan it as I had to bring back the camera to work and that just doesn’t do the image any justice. But…here it is; the result of 3 days hard work!
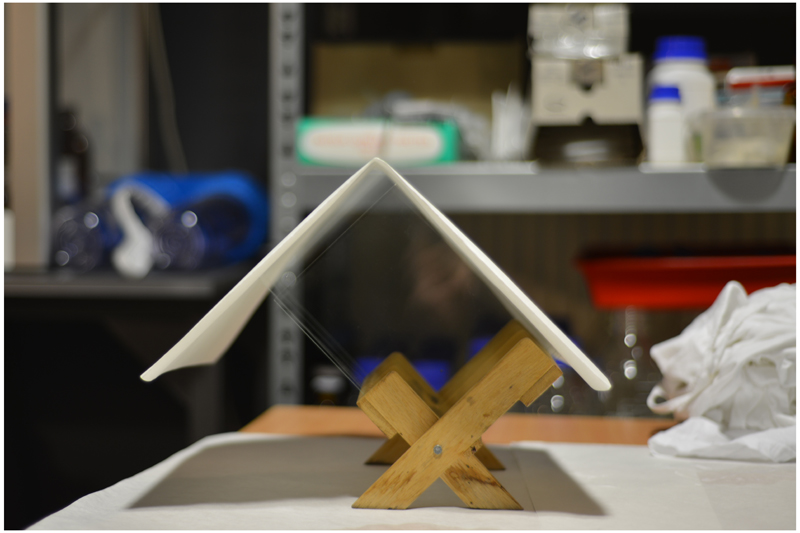
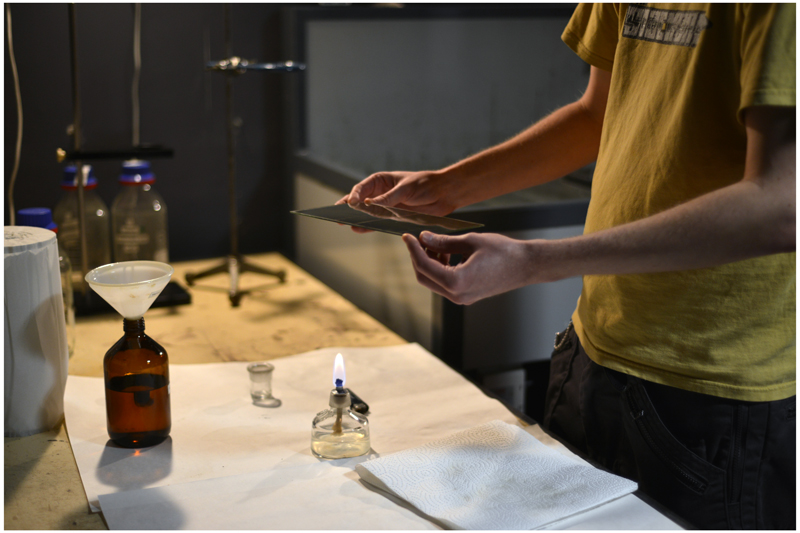
Another smallish but handy thing I’ve learned is making four flaps yourself. This can be done really easily (shown on the photo is the really fast way) and it makes sure you have a perfect fit for your plate. I bought prepped ones but you can only get them in 4×5″ and 8×10″. Not for 18×24 or 4×10″ for example. I never thought of making them myself but will from now on!

In short: I have learned a lot of practical things that you simply can’t learn from a book. I plan on using this process for making negatives of landscapes. Time and effort wise there’s no shorter choice but dry plate out in the field will definitely be a lot more comfortable and will get you to places where a mobile darkroom would be kind of an impossibility. After having seen this process I definitely want to grow bigger, 30×40 cm’s is what I have in mind, so that when contact printing them it will be of a nicer size than smaller (at least to me). I’ll first learn this process on the smaller sizes, get accustomed to it and its perks, and then grow. With salt printing there’s is some research to do on paper choice. I have some here from the Van Dyke story so will continue with that. All in all; woeh, quite wonderful!

That’s really awesome negatives and prints! No wonder, Jeroen for president!
great work!!!
A great read Indra! I didn’t realise so much variation was possible with the chemicals/developing etc of plate photography!
Me neither David! It was a whole new world and gave me an even better understanding of exposure in combination with development. This also draws a line to negative film photography and its development; really cool!
Really nice!
Something else to try after i’ll master wet plate.
It was quite something 🙂 Especially the developing part is really nice to do. Much more fun than with wet plate as that fun only lasts for about 15 seconds 😉
Your ability to focus on the details is uncanny! You could be a scientist! Great work, Indra!
Haha thank you David! I do like chemistry (although in High school I found it most dreadful) 🙂
How are you and your family doing?
Hello! I recently started dry plate collodion with encouraging results! I have read this blog page 10 times and I am looking forward to doing salt prints from those plates too! Information on the process is however scarce, so I was wondering if you would share the developers formula? How much time did it take to fully develop? Thanks!
Hi Nicolas,
I’m sorry for the belated answer but here it is:
The developers formula is:
1 gr pyrogallic acid
355 ml distilled water
7gr citric acid
This is the standard formula. It’s a developing-on-inspection kind of developing so after a couple of minutes you might decide to adjust the developer slightly;
Upon overexposure lessen pyro, add more citric acid and add more silver nitrate, upon underexposure the other way around.
You can breathe on the plate to speed up development if wanted. Time for development depends on the image / density you’re after. I think we developed around 20 minutes (but not sure anymore).
Hope that (still) helps 🙂
Hi, be reassured, it has been useful! Pushed me to give it another try after a pause. And this week-end has shown promising results 🙂
Ah great to hear! Did you post the results somewhere? Curious…😊
Sorry for the delay, I wanted to refine a bit the process. But I finally succeeded to do a decent plate (good density and no fog). And from what I saw last weeks, apart from manipulation errors, results are getting consistent. Finally!
I posted a picture of the plate on my insta: https://www.instagram.com/p/B80rtnIouse/
This week-end I will try albumen or salt print. I am looking forward to seeing the result 🙂