Recently I was given the opportunity to dive into platinum/palladium printing (ow yes!) in a collab with Ilford. More on that and how that fares later on. Still fine-tuning the fine-tuning so to say. However, one of the things I ran into was the rather lengthy exposure time using the UV source I normally use for my Van Dykes. With Van Dyke I have an exposure time of 13 up to 17 minutes. With Pt/Pl it runs up to over half an hour. If you want to make let’s say, 6 exposures on an evening, exposing the paper alone takes up..well you can do the math. Too long in short.
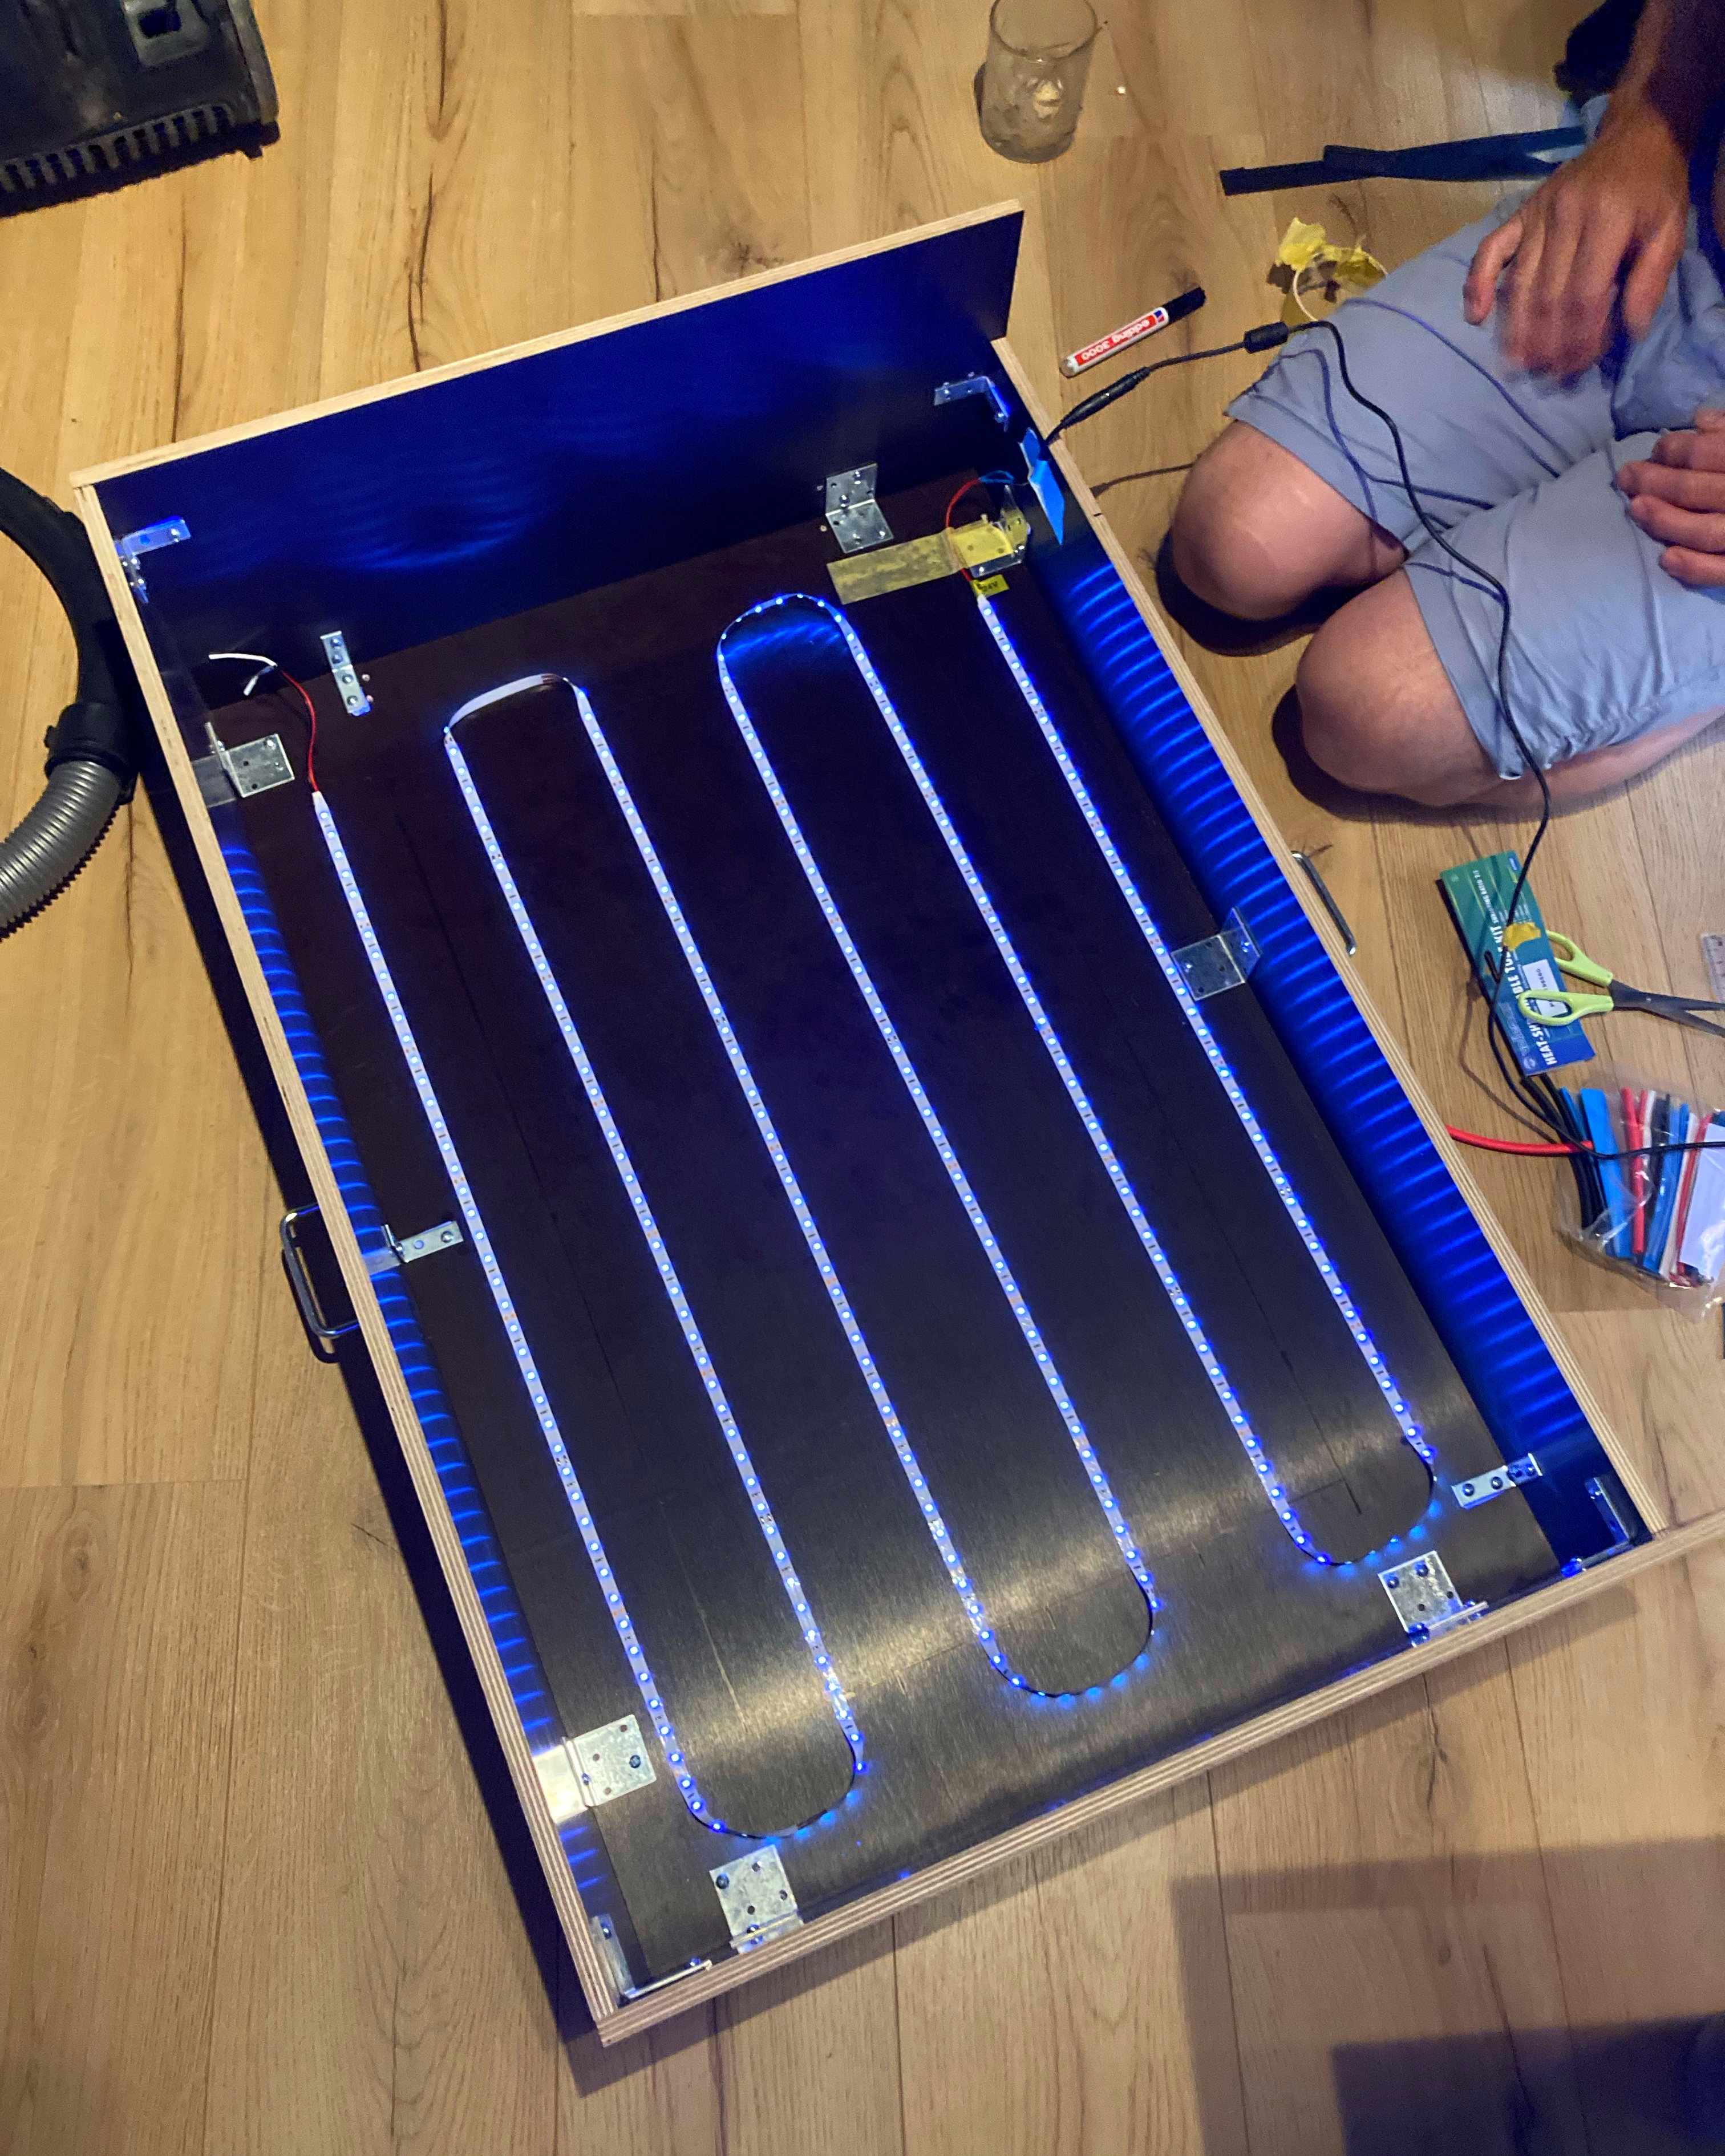
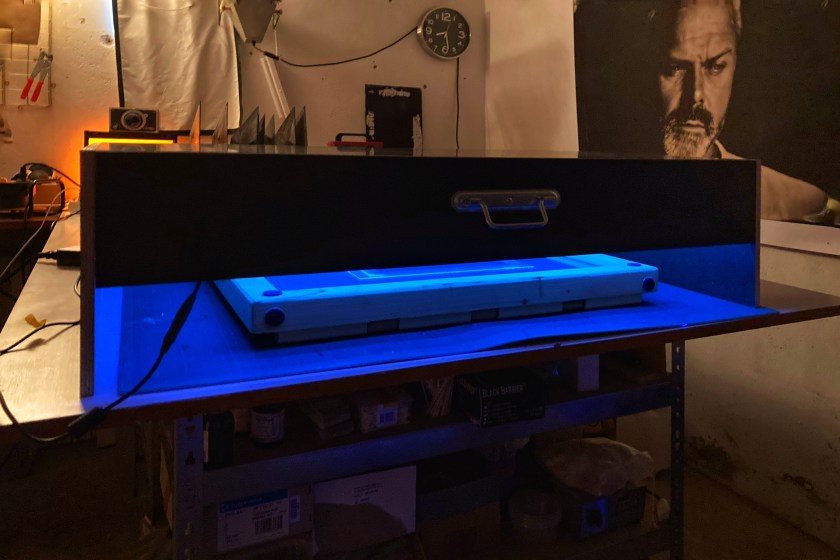
Jobo makes this fantastic (at least looking) UV exposure unit. Only downside is its rather hefty price tag of no less than € 1690,00. Mind you, no vacuum unit included. So, I went looking for different solutions. I decided to take the UV-led route; very easy to handle, lightweight, lasts forever (at least I hope) and consumes very little energy, certainly compared to the one I was currently using. My boyfriend ordered pre-cut concrete plywood to make a proper box and I ordered a UV led strip in 370nm, 5 meters long. We then assembled everything and just made the first Van Dyke… 5 minutes exposure time! So that’s promising 🙂
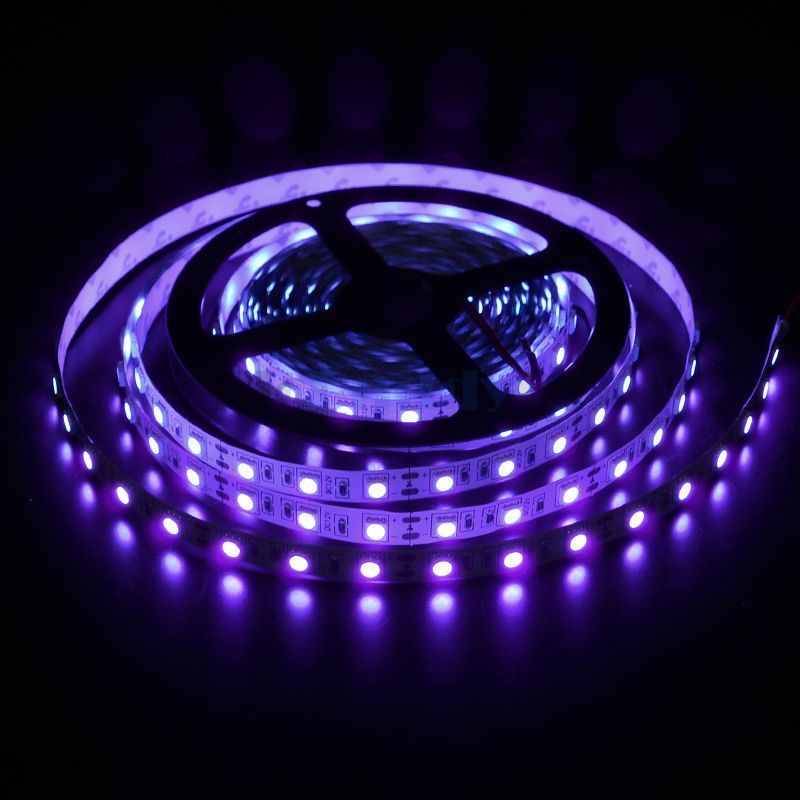
Details of the LED light:
Luminous flux: 200 lumen per meter.
Color: Ultraviolet (UV), 370nm
Voltage: 24V
Amperage: 0.6 A / meter
Power: 14.4 W / meter
Can be cut every 6 LEDs (24V)
Strip width: 10mm
Strip height: 2mm
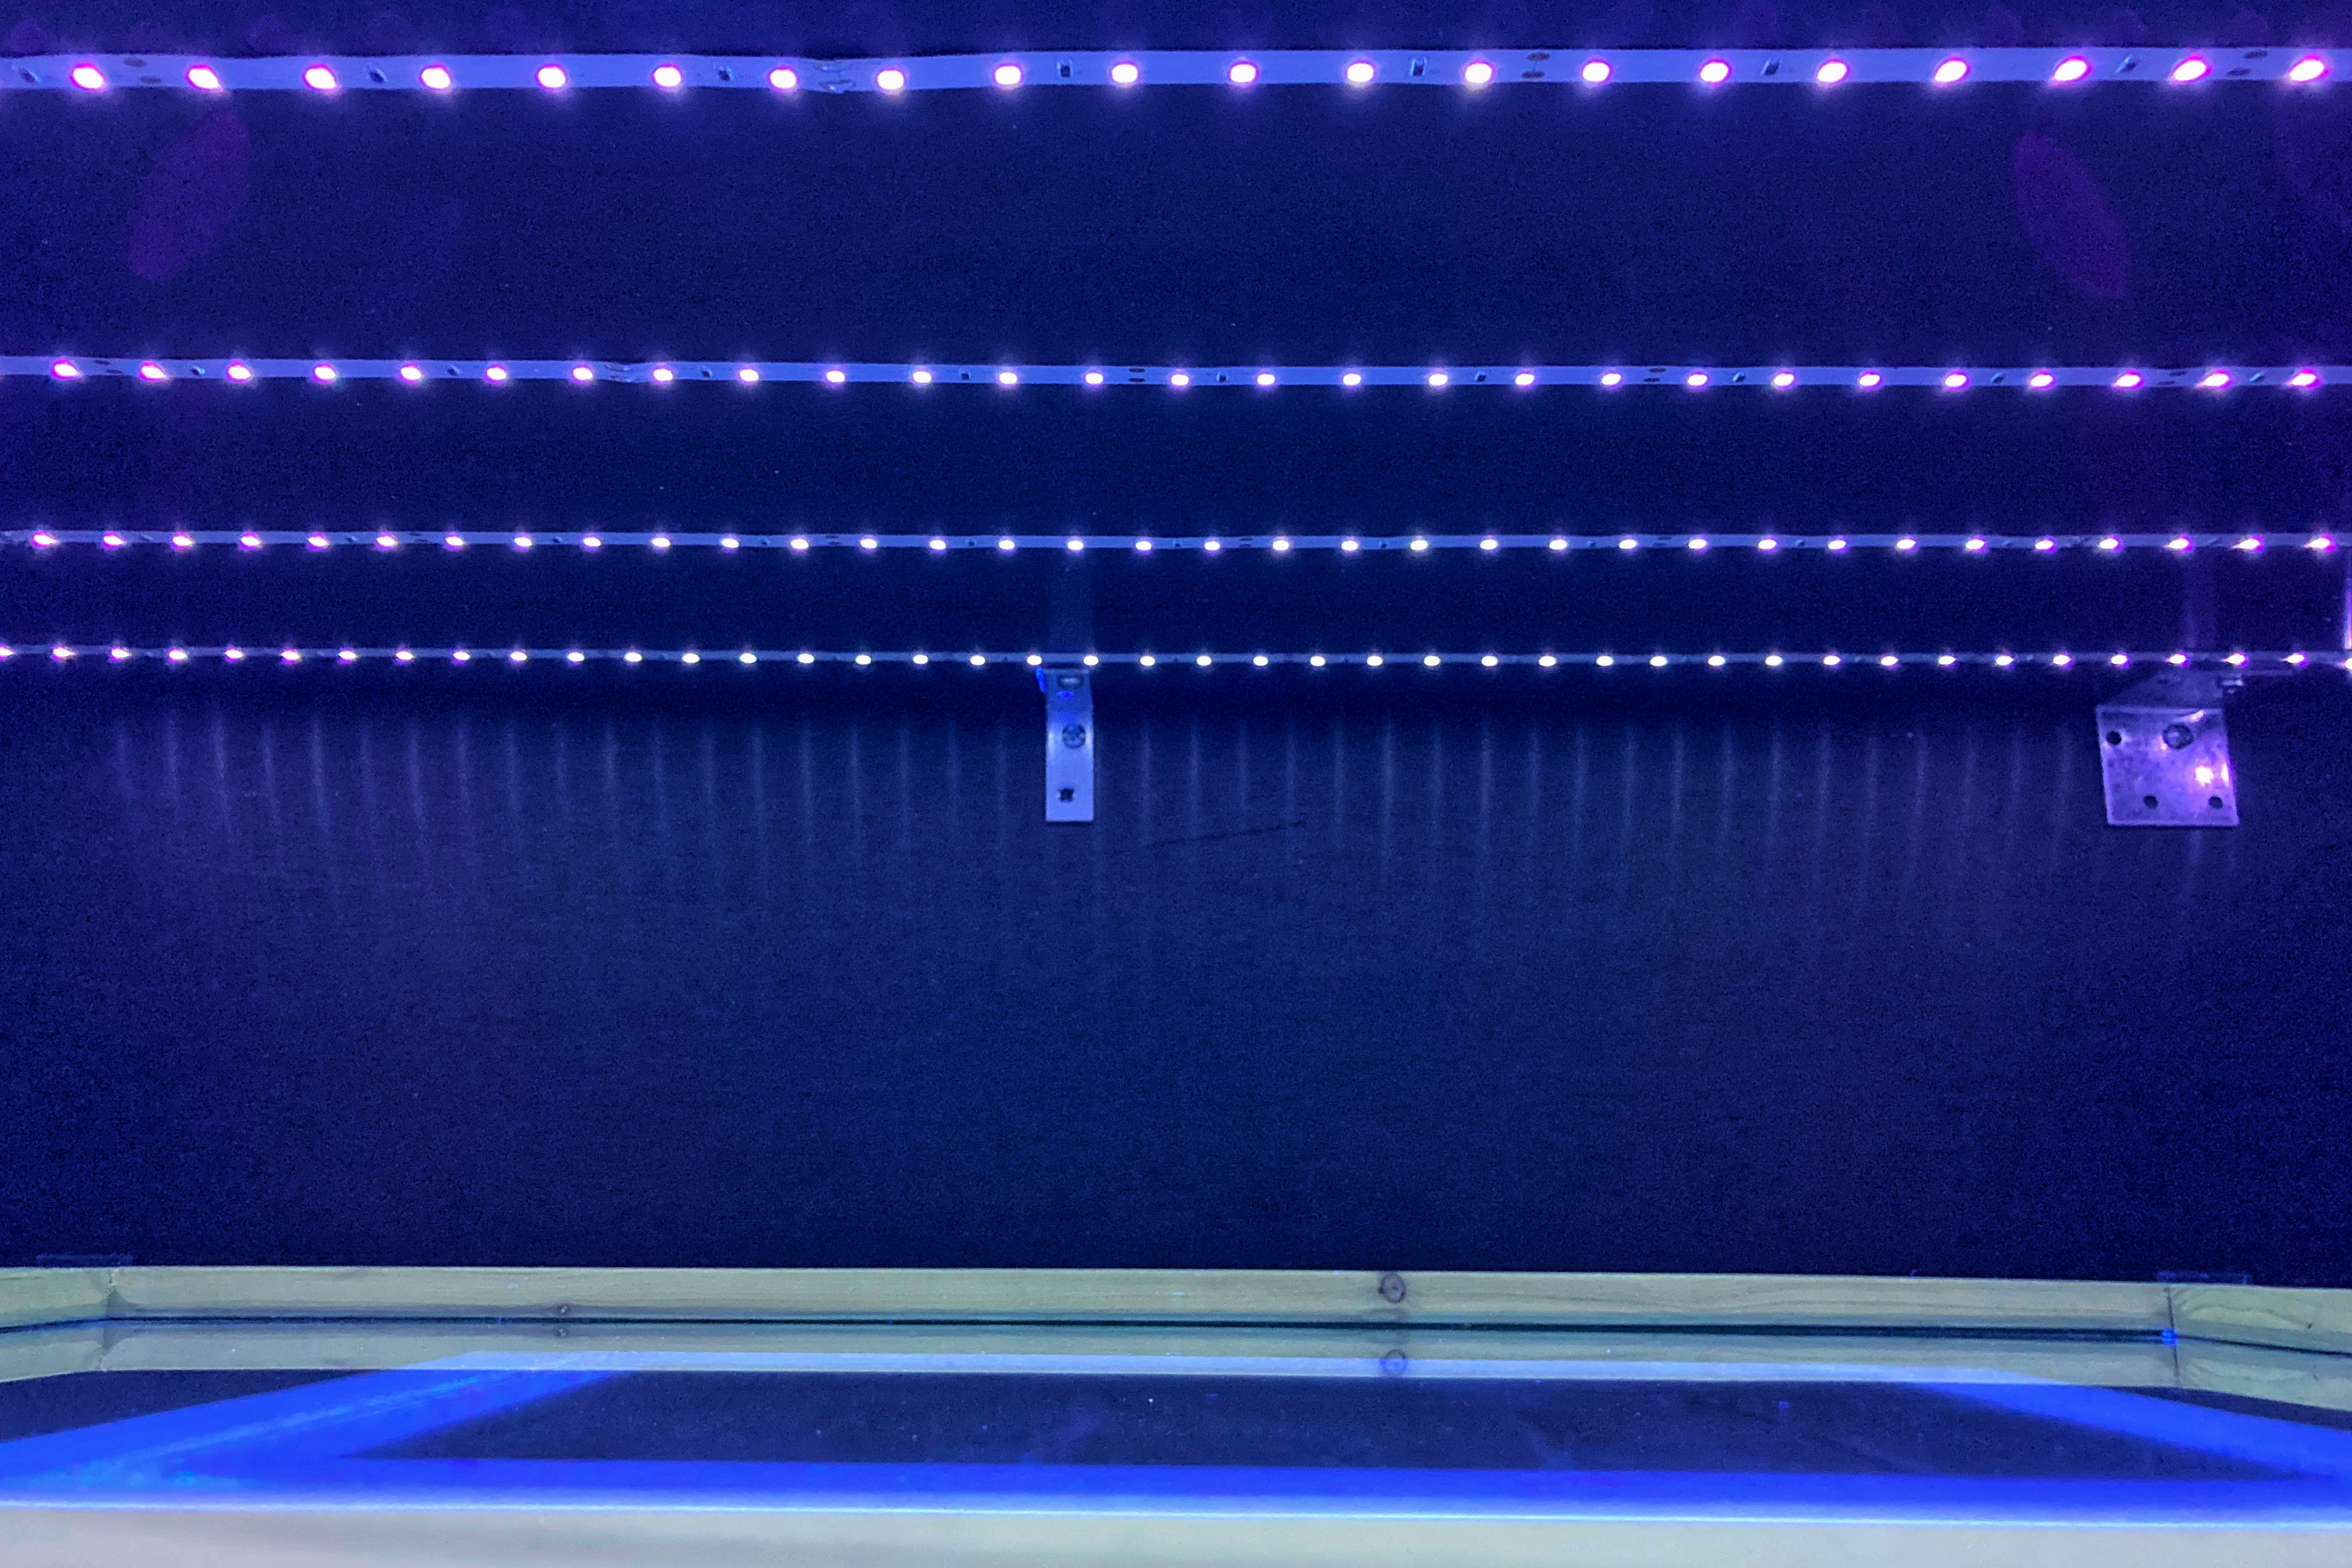
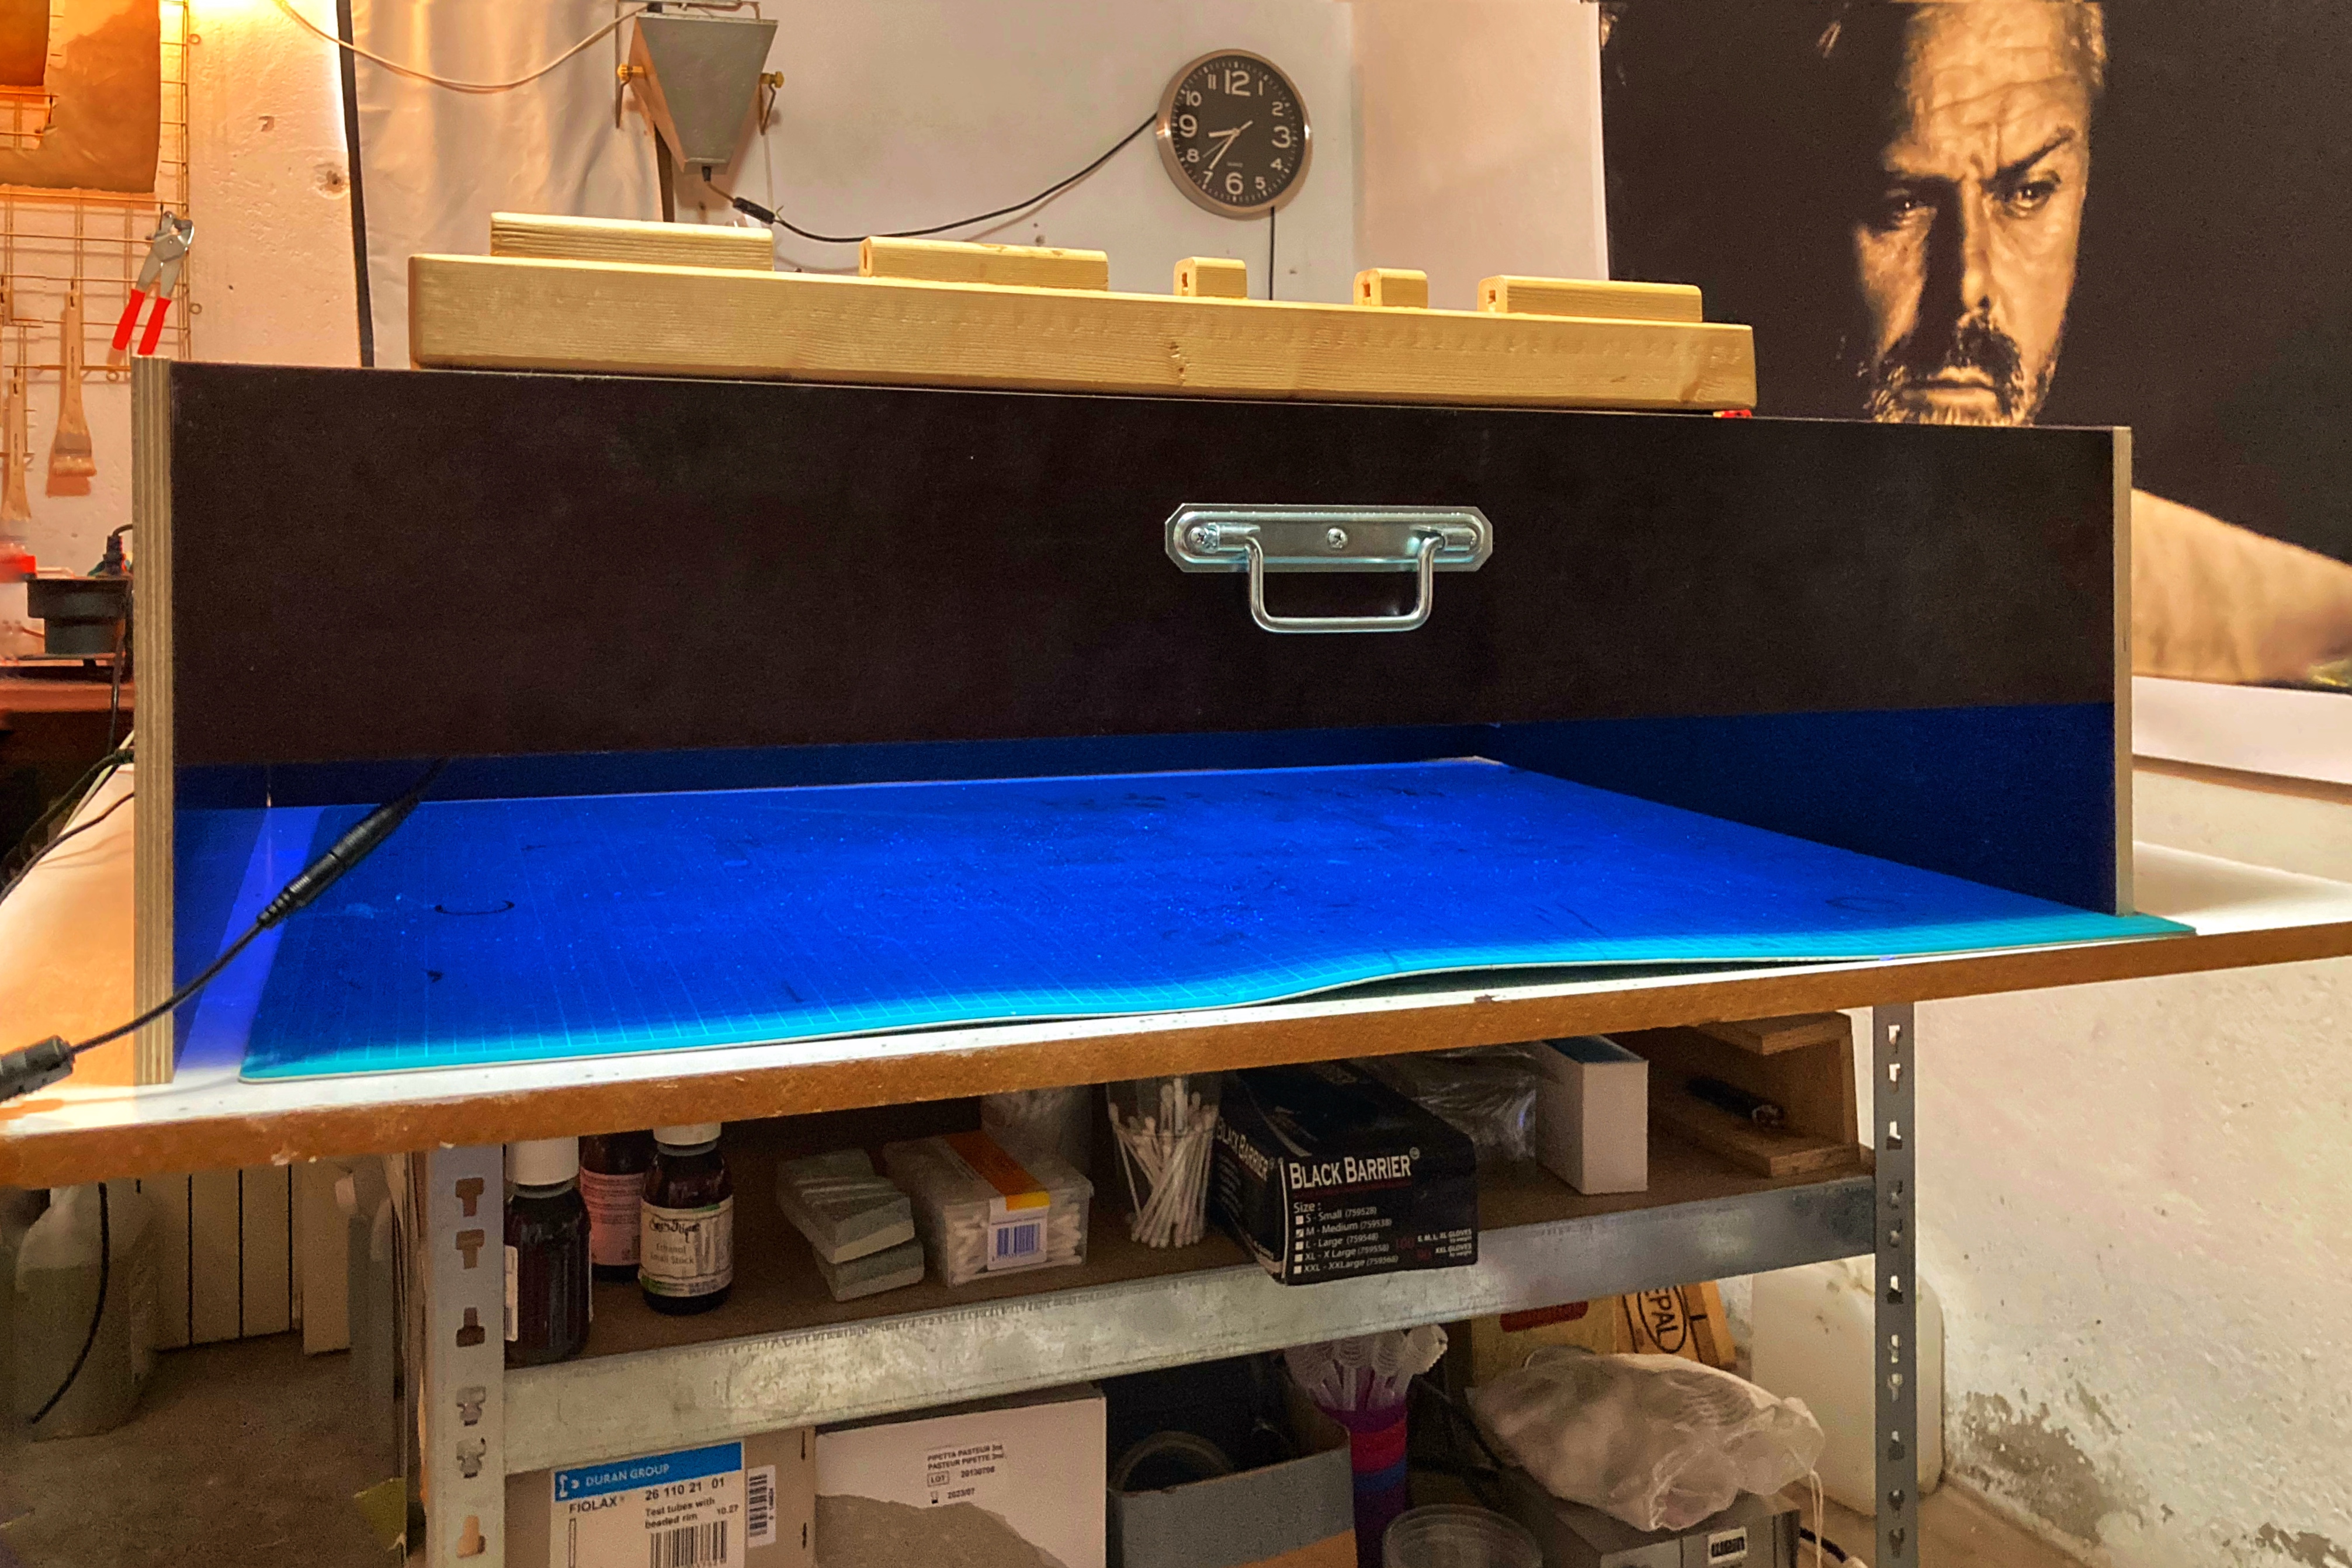
Details of the box:
The size of the box is 60 x 90 cm, 25cm in height. On one side we left an opening to slide the contact frame in and out easily. Works like a charm! Will put a timer on it so I don’t have to wait in order to turn it off and good to go!