
As mentioned in the former post I made my first Van Dyke print today! As I described the formulas used in the former post as well I’ll keep this one short of info, only the necessary stuff.
Paper used: Artistico GG
Single coated paper 13×18 cm
Original: Wet plate collodion negative 4×5″
Exposure time: 36 seconds
Weather: Very cloudy
Fixer: Sodium Thiosulfate 4%
Untoned
This is how the sheet looks when just exposed to the light with the negative on top:

This is how the sheet looks when it’s been exposed for 28 minutes:

In case you’re wondering about the different backgrounds behind the box that was holding the image…at first I had the box placed on a mat in my darkroom in the door opening. When it stopped raining I placed it on the bricks outside to give it a bit more exposure to light.
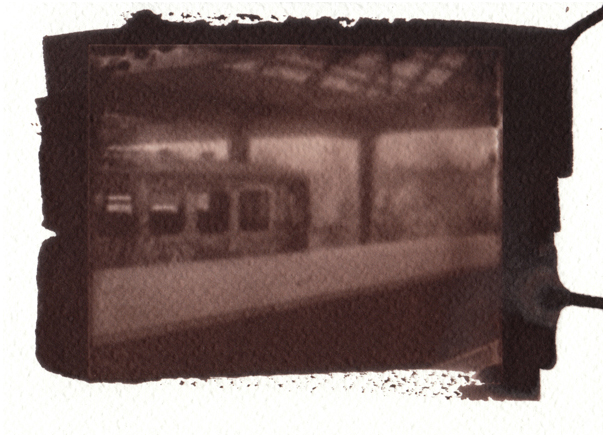
And this is the end result after 36 minutes of exposure time, developed, fixed, rinsed and dried:

Afterthoughts:
This paper is way too textured for a proper result using this kind and size of negative. I lost a lot of sharpness and a lot of detail. This paper will be cool for the big digital negatives with landscapes I guess but not for this. Next time I will try the fine-grained one to see how it compares.
I still have a lot to learn but am really excited to have gotten a pretty decent image for my first try and will continue to experiment with this for sure! Double coating will be part of the next test, as well as the hypo clear in step and the toning part. It would be nice to keep this images for a long time! I’ll keep an eye on this print to see how long it’ll last without these two steps.
